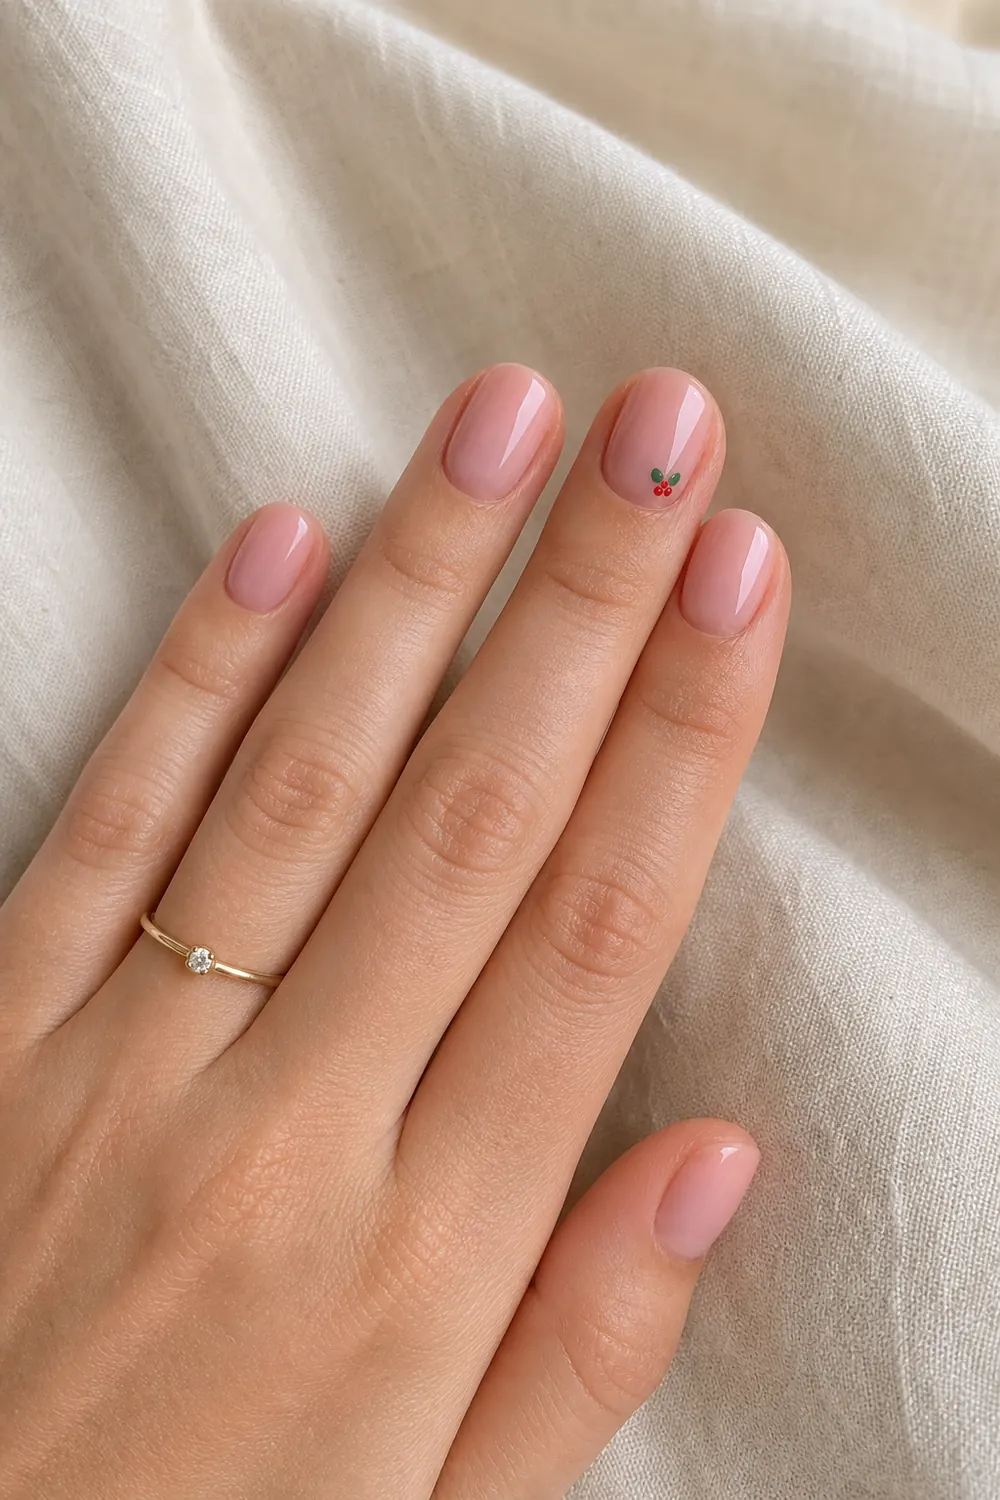
20 Short Christmas Nails You Can Do at Home (2026)
These short Christmas nails are for anyone doing their own manicure at the kitchen table with regular polish or gel and a home lamp. Short nails are easier to paint neatly, they hold up better through wrapping, cooking and typing, and tiny holiday details actually look better on a small canvas. Every design here uses a few steps and basic tools you probably already have: a dotting tool (or a bobby pin), a thin liner brush, some tape and a glitter polish.
The list starts with the cutest mini nail art, moves through classic red, green and gold, and ends with the quickest one-bottle looks. Each idea comes with difficulty, a realistic time for a full set and whether it works with polish, gel or both.
Nail designs in this post are AI-generated illustrations for inspiration, not photos of real manicures. About our images
What You Need
- Base coat and glossy top coat (or gel base, gel top and an LED/UV lamp)
- Red, deep green, white, sheer nude or pink and milky white polish or gel
- Gold and red glitter polish, plus a fine silver glitter
- Dotting tool (a bobby pin or toothpick works too)
- Thin striping (liner) brush
- Nail tape or striping tape for French tips and half moons
- Small makeup sponge for glitter gradients
- Gold star nail stickers and gold foil flakes
- Small brush and nail polish remover (or cleanser for gel) for cleanup
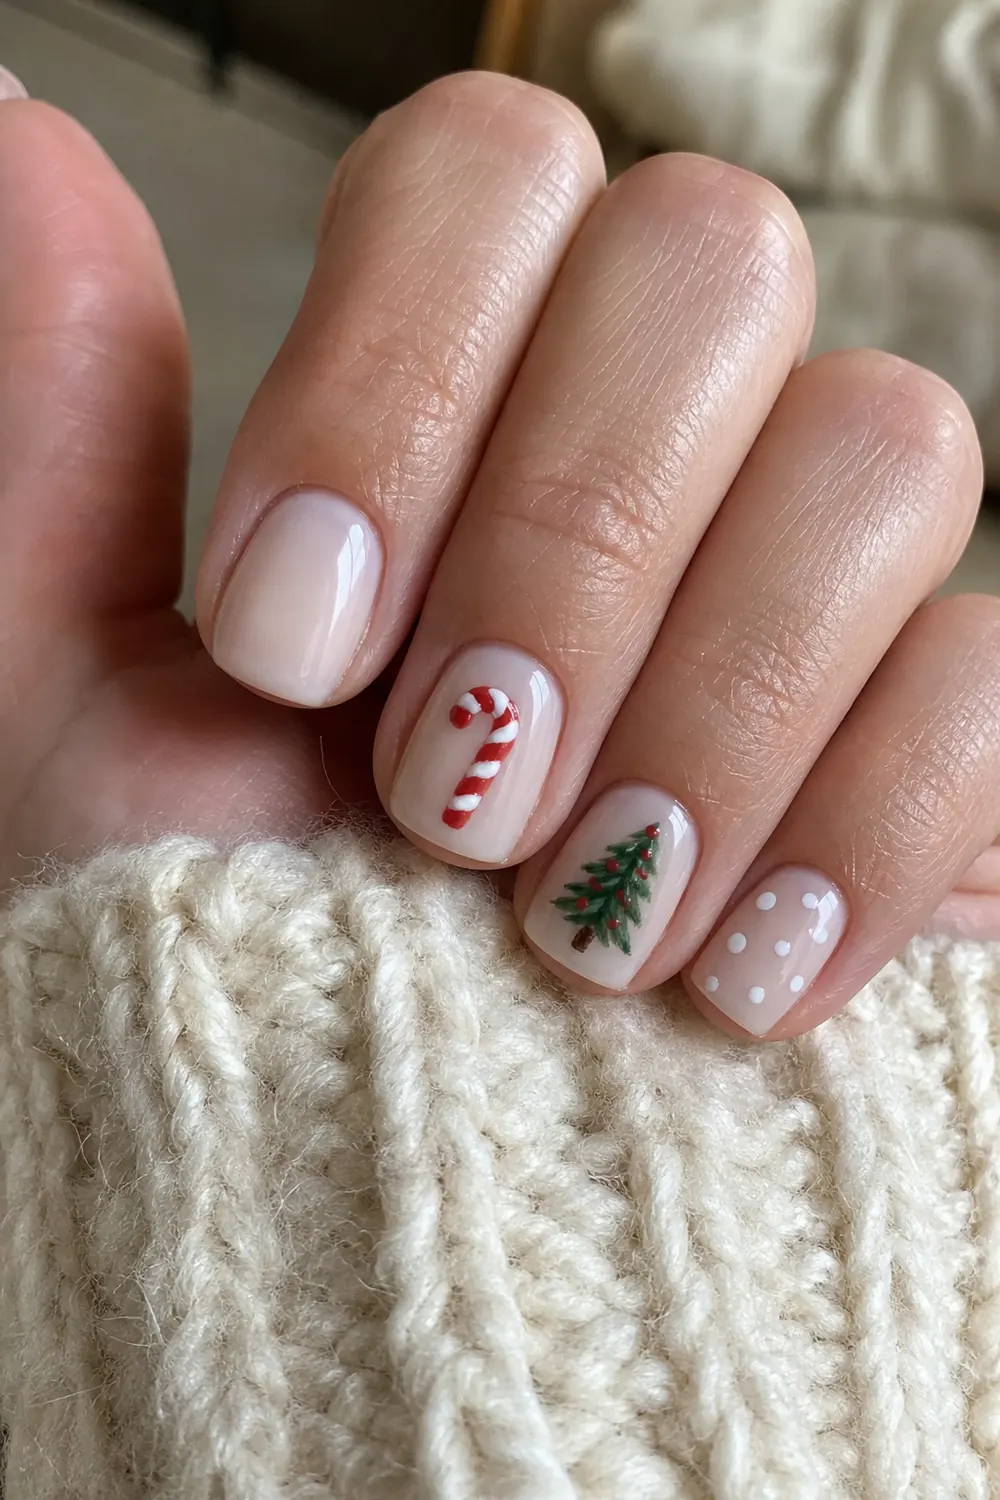
1. Mini Christmas Art: Candy Cane, Tree and Snow Dots
- Difficulty: Easy-medium
- Time: 40–50 min
- Polish or gel
A pale pink base with a different tiny Christmas motif on a few nails, and the rest left plain, so it looks playful but never busy. Paint the candy cane as a white hook with a liner brush, then add short red stripes once the white is dry; the tree is a small green triangle and the snow is just white dots. Keep each motif no bigger than a pea on short nails, and leave at least two nails plain so the art reads clearly.
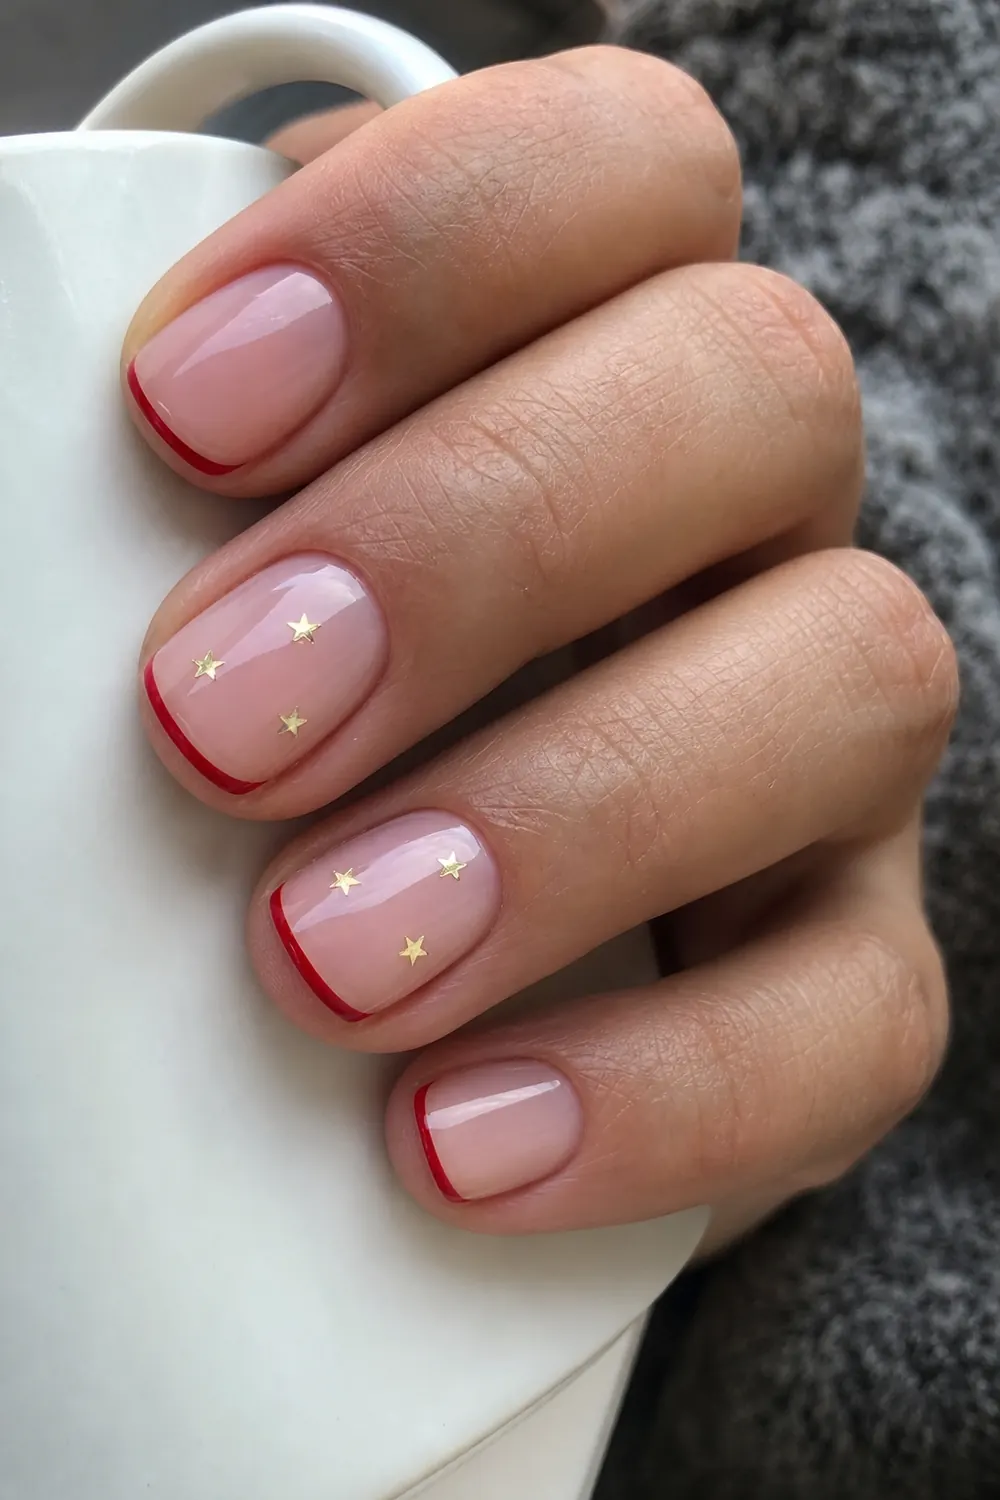
2. Red Micro French with Tiny Gold Stars
- Difficulty: Easy-medium
- Time: 35 min
- Polish or gel
A sheer pink base, a very thin red micro French tip on most nails and a small cluster of gold stars on an accent nail or two. Paint the tip by resting your liner brush at the free edge and rolling your finger instead of moving the brush; for the stars, use gold star stickers or tiny dots of gold glitter placed with a toothpick. A micro tip is thinner than you think, about the width of a grain of rice, and it makes short nails look longer.
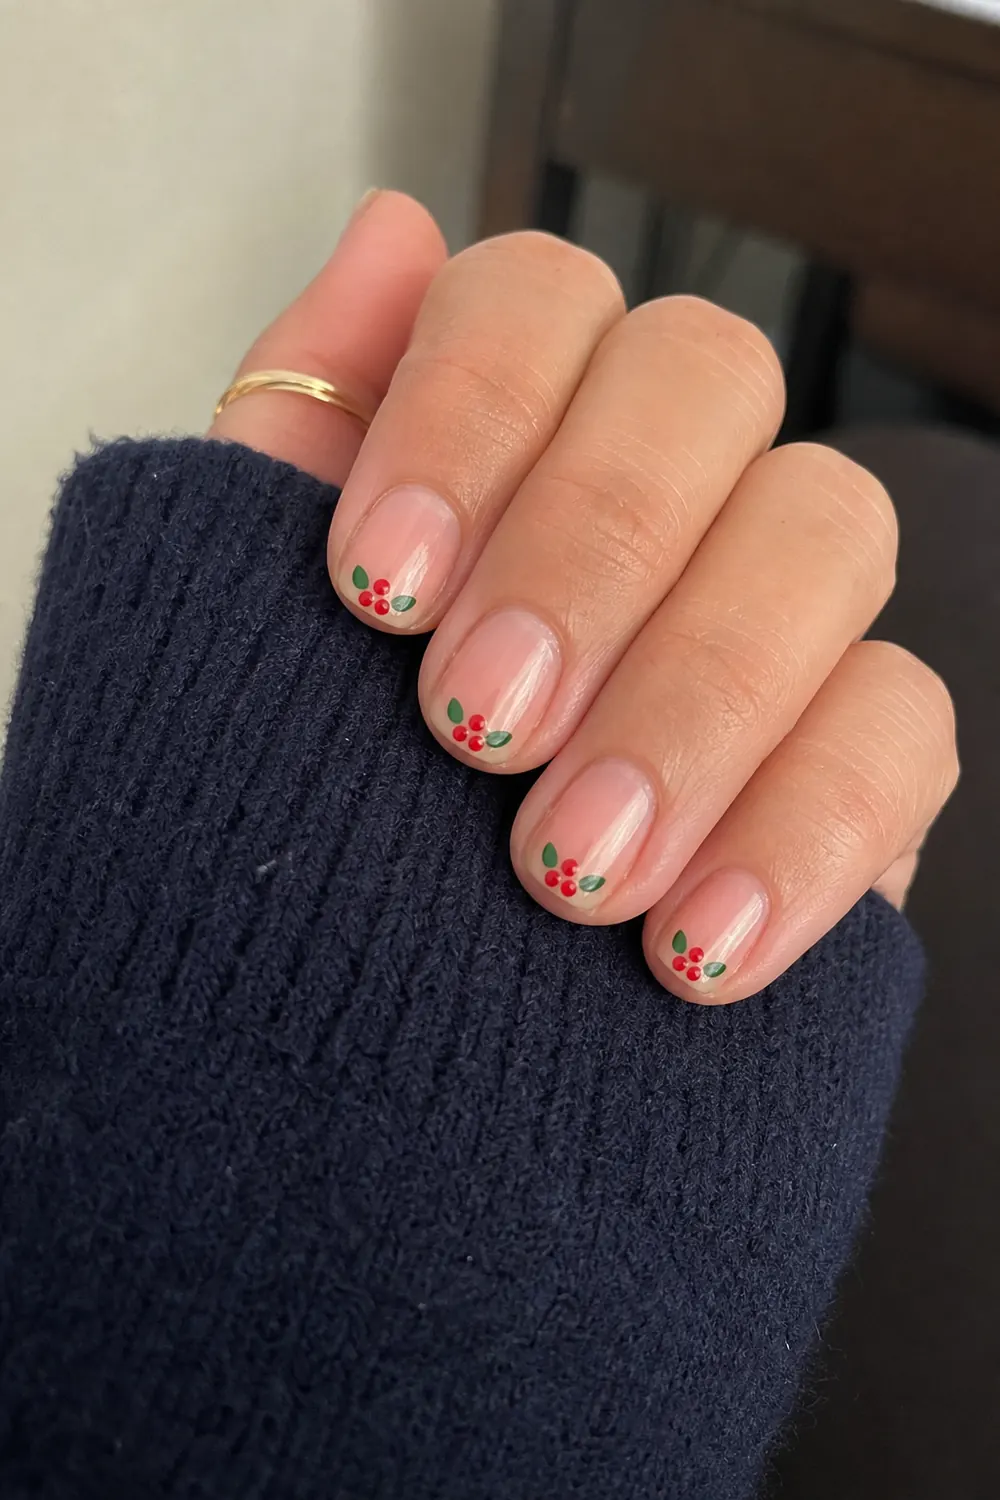
3. Tiny Holly Dots on a Sheer Nude Base
- Difficulty: Easy
- Time: 30 min
- Polish or gel
A sheer nude base with a little holly sprig at the tip of each nail: three red berry dots and two green leaf dots. Use a small dotting tool for the berries and drag a slightly bigger green dot into a short teardrop for each leaf. Let the dots dry fully (or cure them) before top coat, then float the top coat on with a loaded brush so the art doesn't smear.
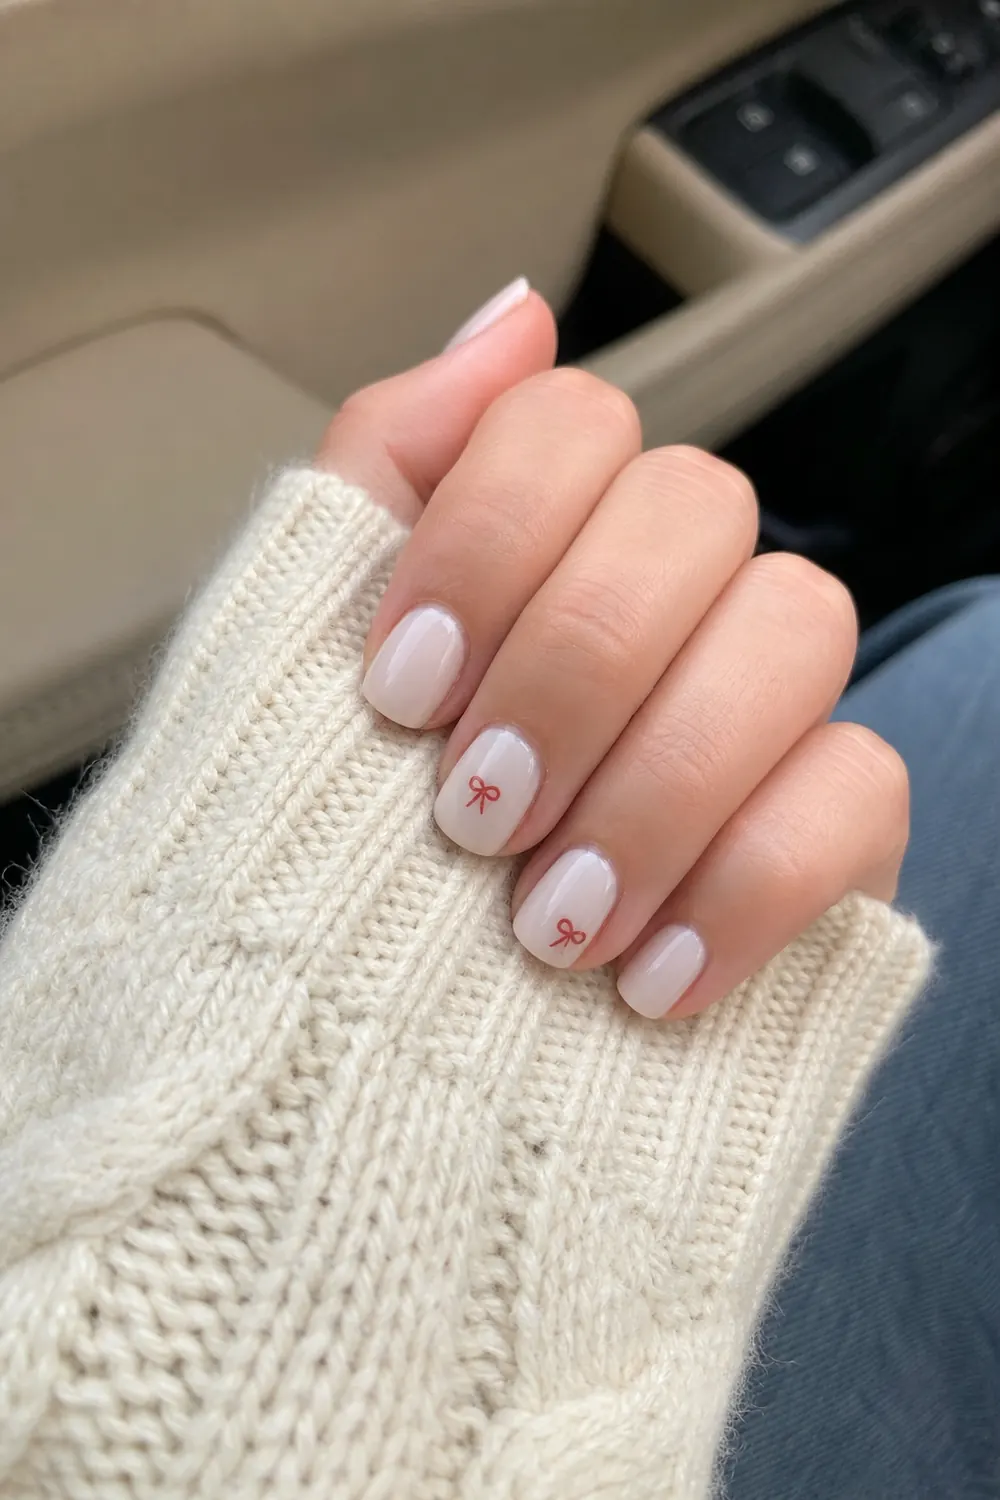
4. Milky White with a Tiny Red Bow
- Difficulty: Easy-medium
- Time: 35 min
- Polish or gel
Milky white nails with one small red bow on an accent nail or two, a sweet look that fits short nails well. Paint the bow as two small red triangles that touch at the points, add a dot in the center and two short tails below with a liner brush. If freehand feels hard, place two dots first and pull each one into a triangle with a toothpick.
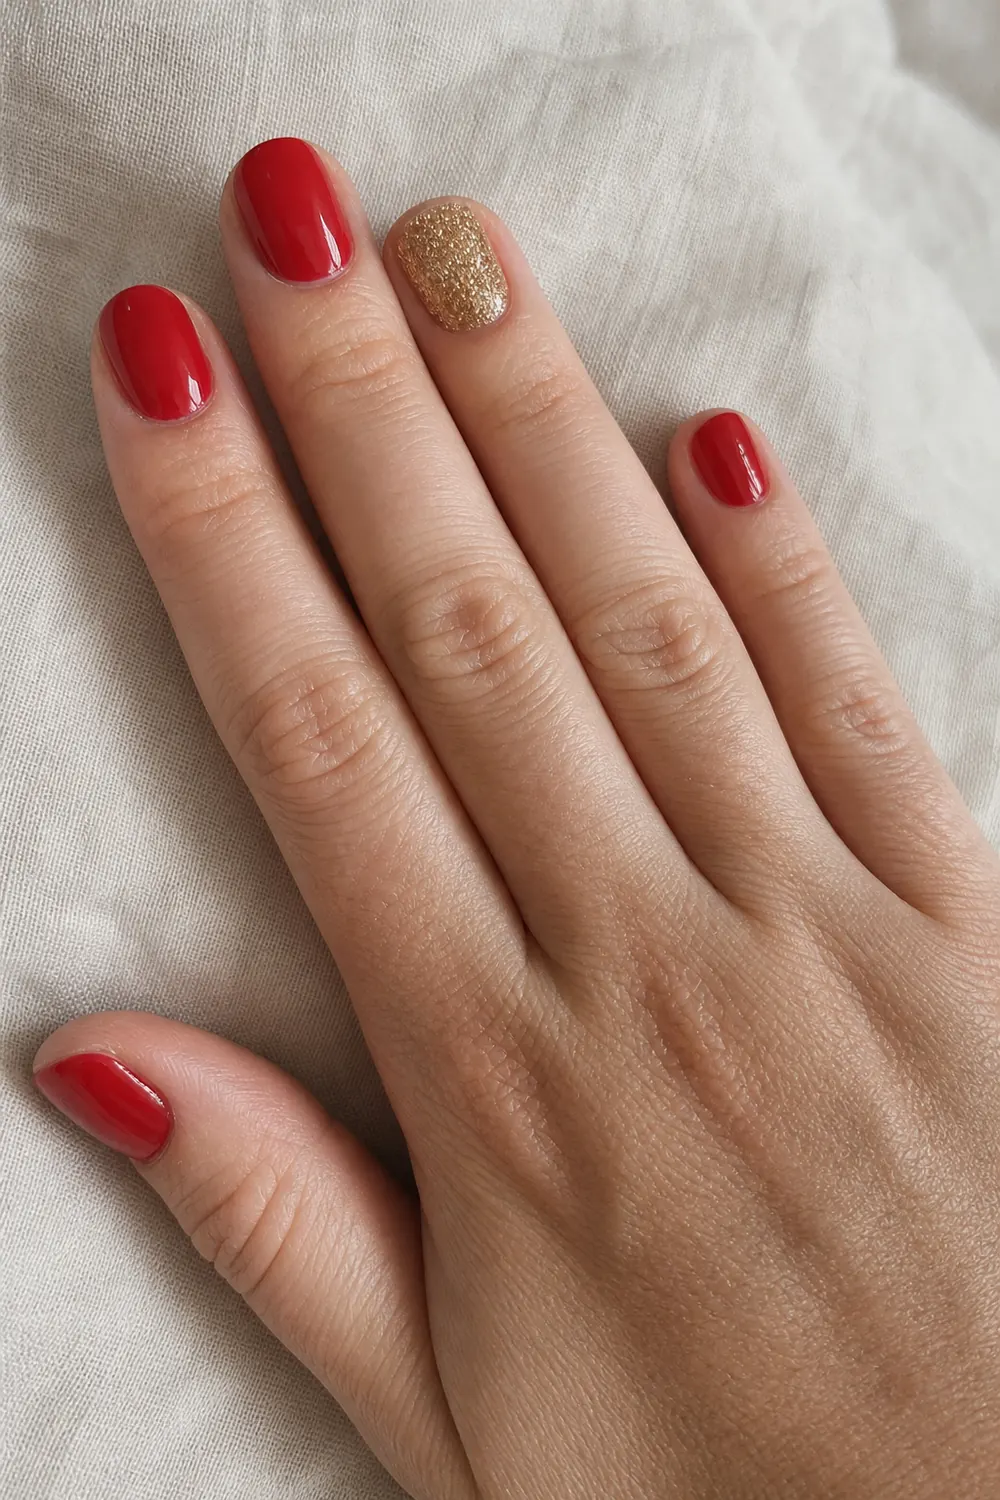
5. Classic Red with a Gold Glitter Accent Nail
- Difficulty: Easy
- Time: 25 min
- Polish or gel
The easiest holiday manicure there is: four nails in glossy red and the ring finger in gold glitter. Two thin coats of red beat one thick one, and the glitter goes on best if you dab it onto the nail rather than brushing it. Finish with a thick top coat over the glitter so it feels smooth instead of gritty.
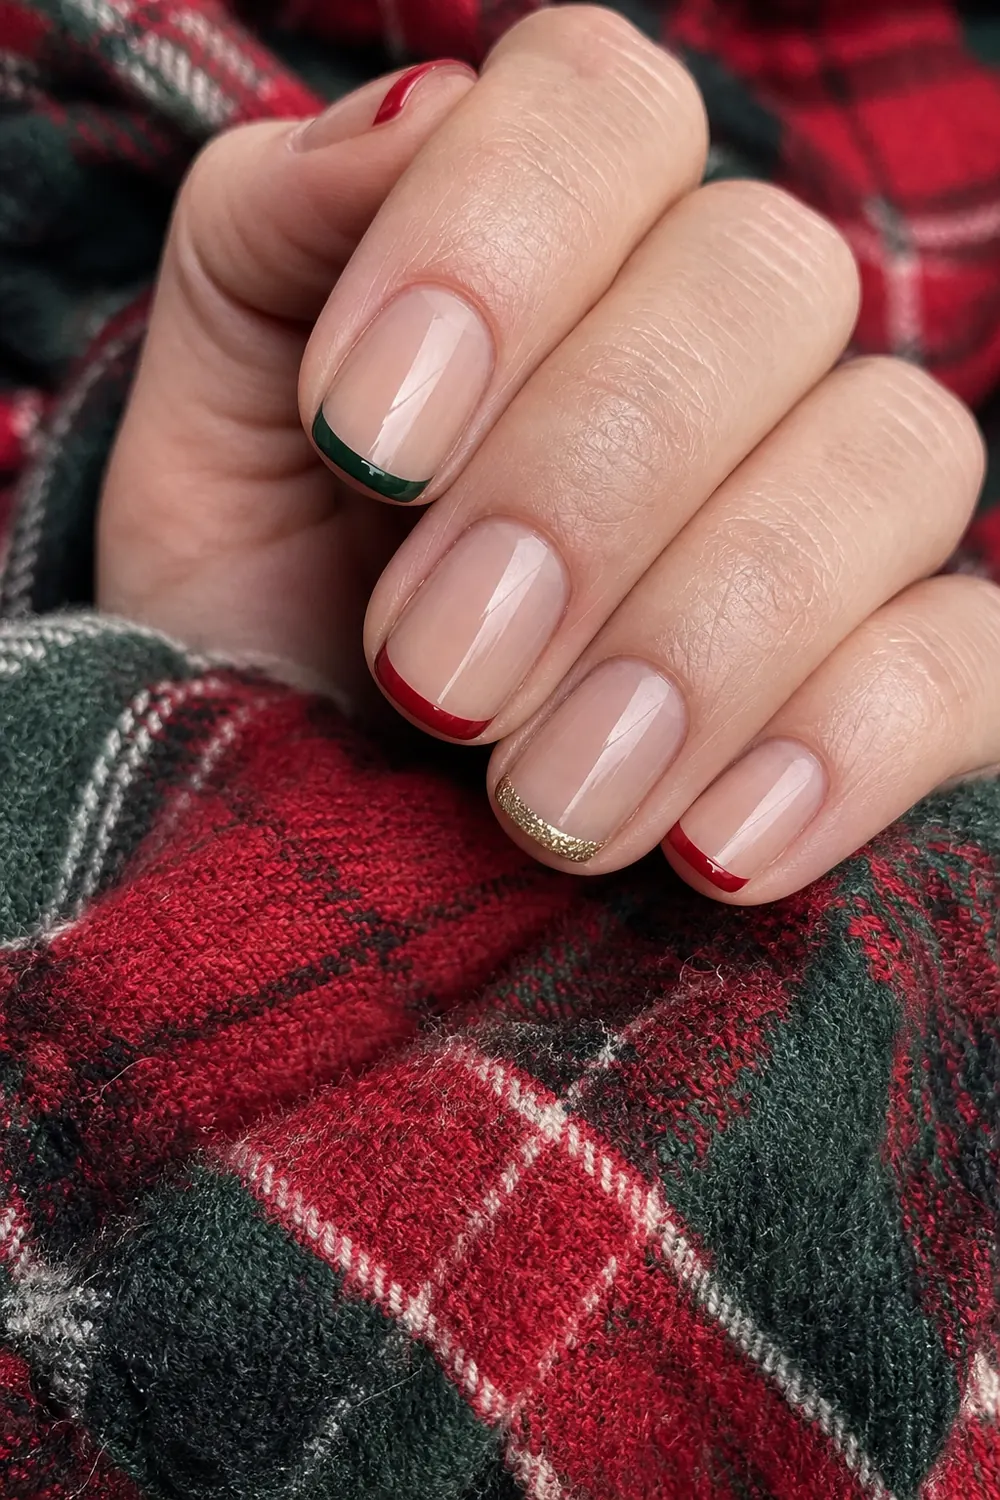
6. Tartan-Inspired Red and Green French Tips
- Difficulty: Easy-medium
- Time: 40 min
- Polish or gel
A sheer nude base with thin French tips that alternate red and deep green, plus one gold glitter tip on the ring finger, like a cozy plaid blanket. Use nail tape or a sticky tip guide to get a clean line on square nails, painting one color at a time. Peel the tape while the polish is still slightly wet so the edge stays crisp.
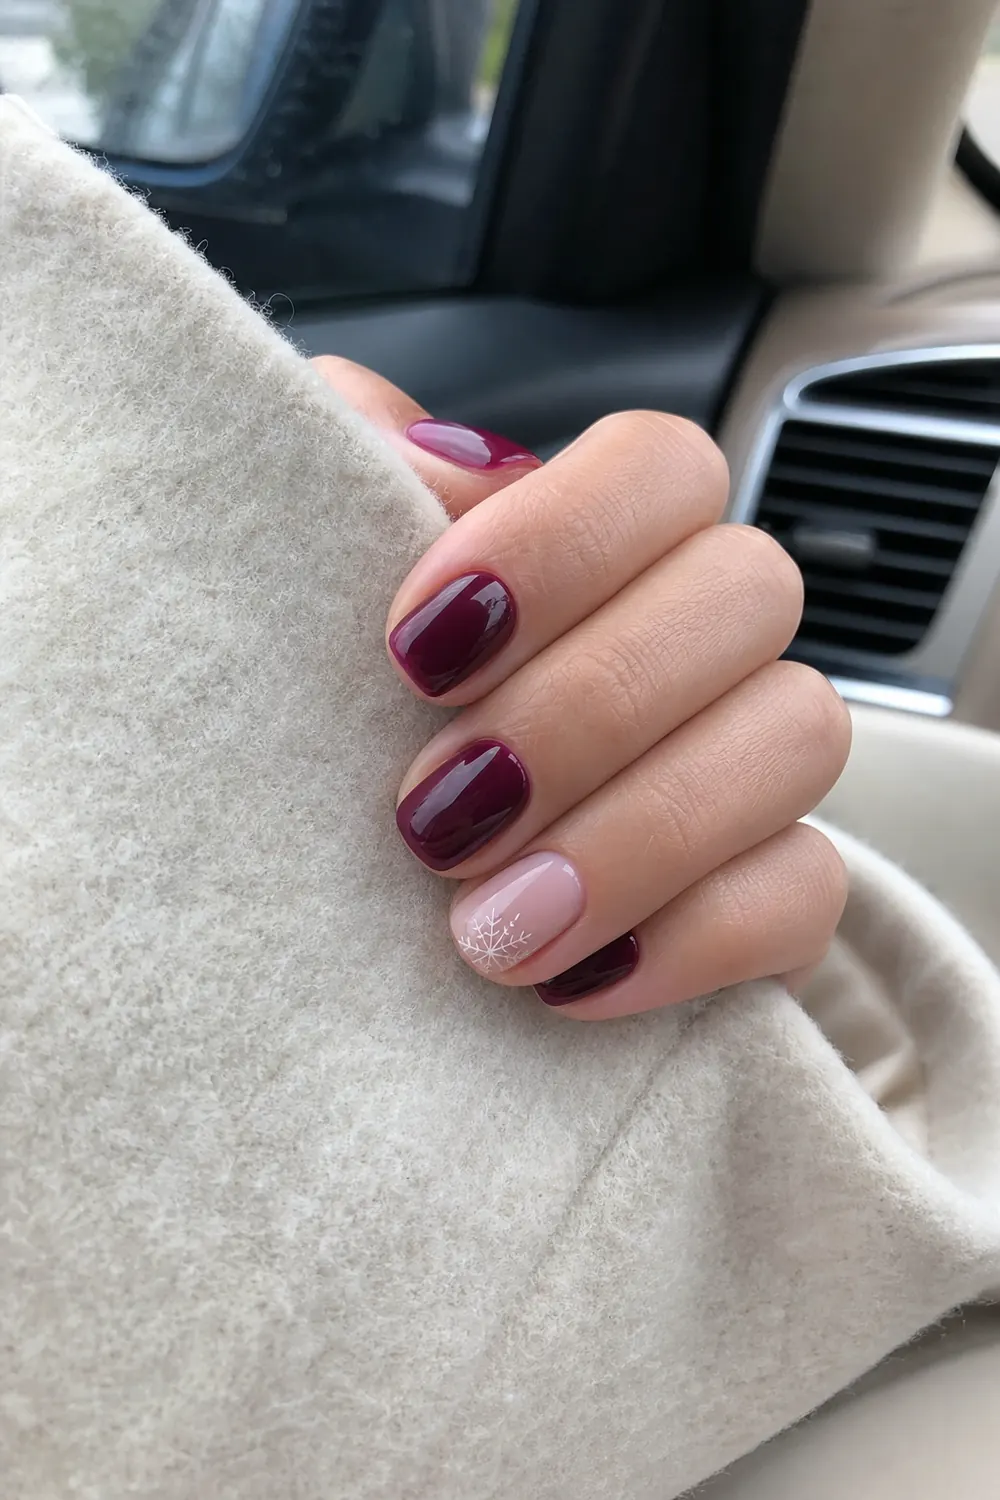
7. Burgundy with a Nude Snowflake Accent
- Difficulty: Easy-medium
- Time: 35 min
- Polish or gel
Glossy burgundy on most nails and one sheer nude accent with a small white snowflake. Paint the snowflake as three thin crossing lines with a liner brush, then add a dot at the end of each line. Burgundy shows every bump, so cap the free edge with each coat to keep the tips from chipping.
8. Deep Emerald Cat-Eye Nails
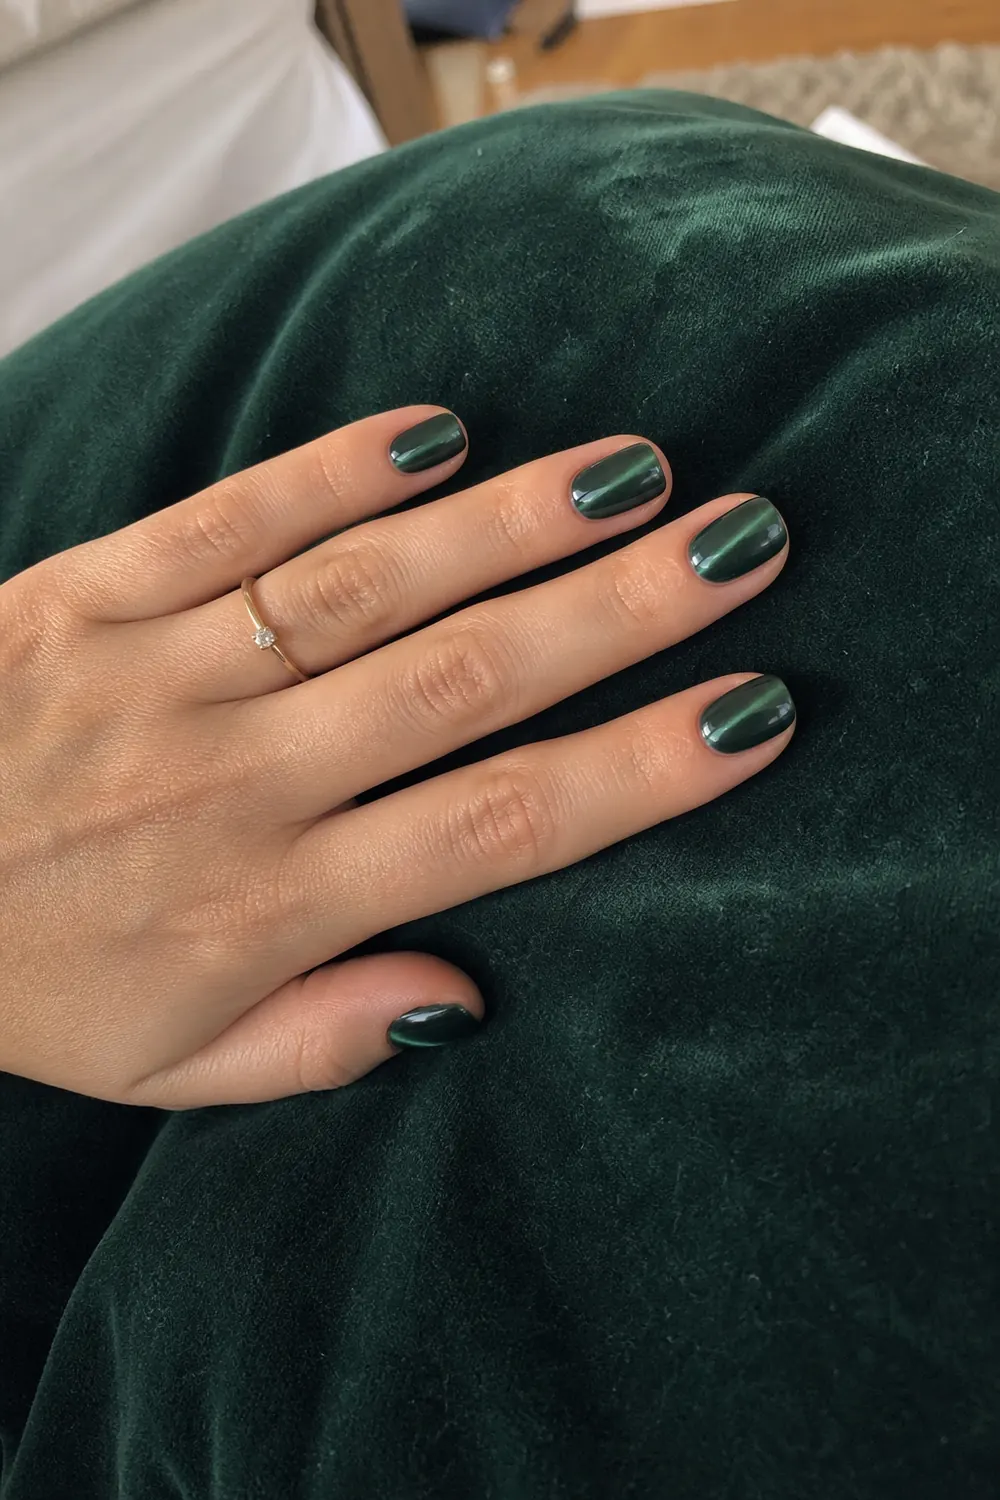
- Difficulty: Easy
- Time: 35 min
- Gel polish (magnetic cat-eye)
Deep emerald green with a soft glowing shimmer line, which looks expensive and takes no art skill at all. This one needs magnetic cat-eye gel: apply a thin coat, hold the magnet close to the nail for a few seconds to pull the shimmer into a line, then cure right away. Work one or two nails at a time, because the shimmer starts to spread if you wait.
9. Red Nails with a Gold Flake Accent
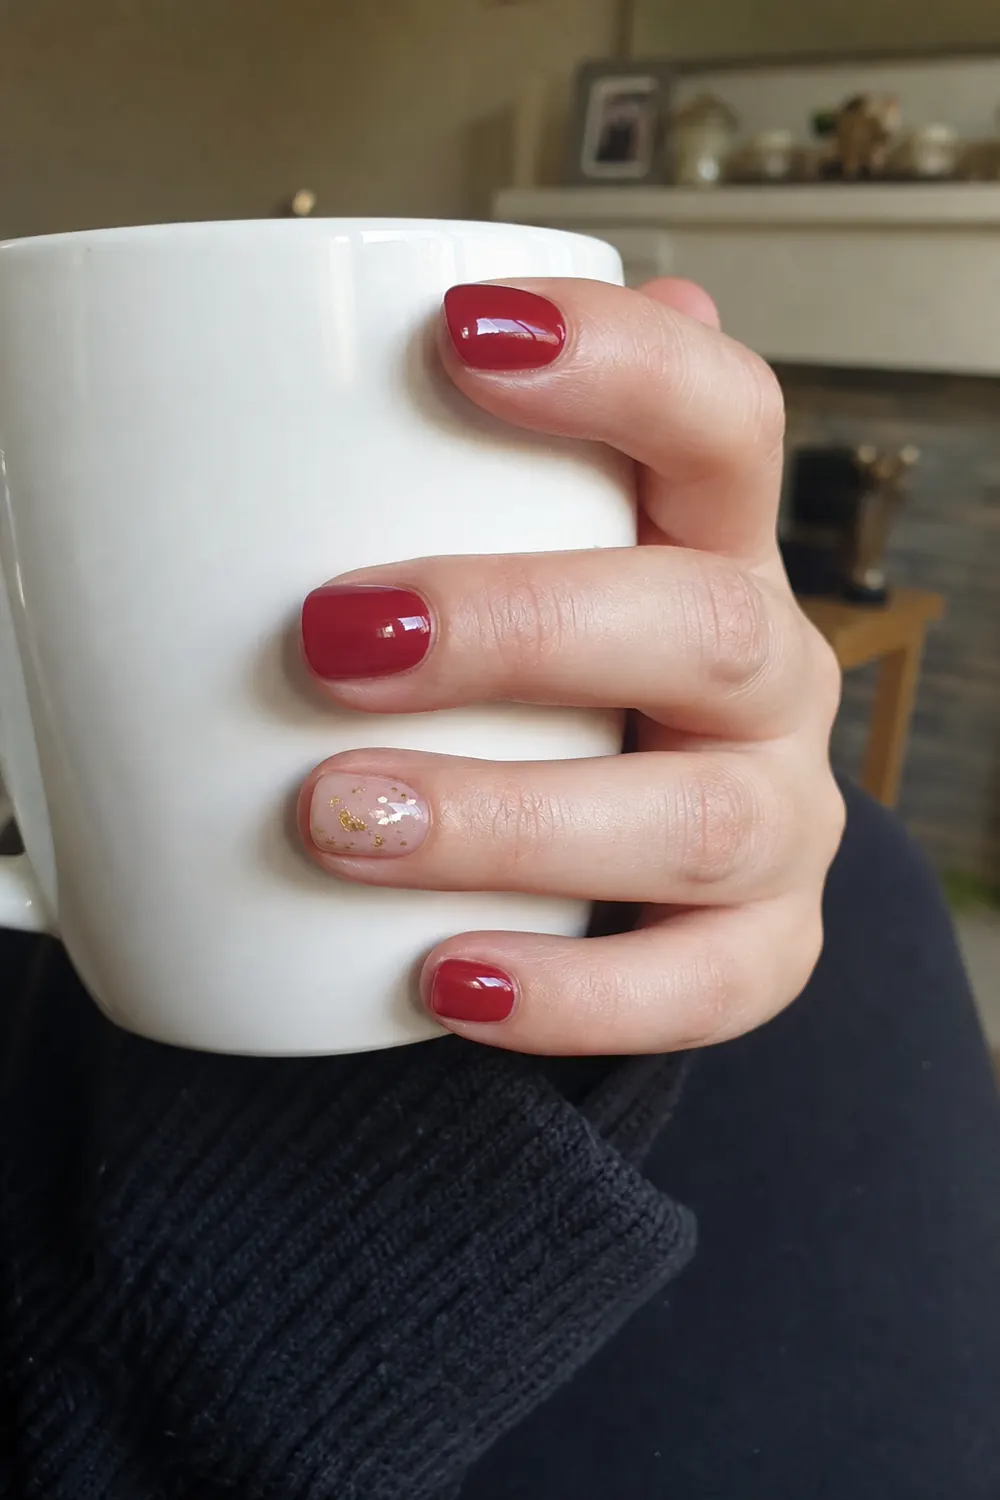
- Difficulty: Easy
- Time: 30 min
- Polish or gel
Classic red with a nude accent nail sprinkled with gold foil flakes. Press the flakes into a tacky layer of top coat (or an uncured gel layer) with a toothpick, then seal with one or two more coats of top coat. Small, irregular pieces look better on short nails than large sheets.
10. White Nails with a Candy Cane Accent
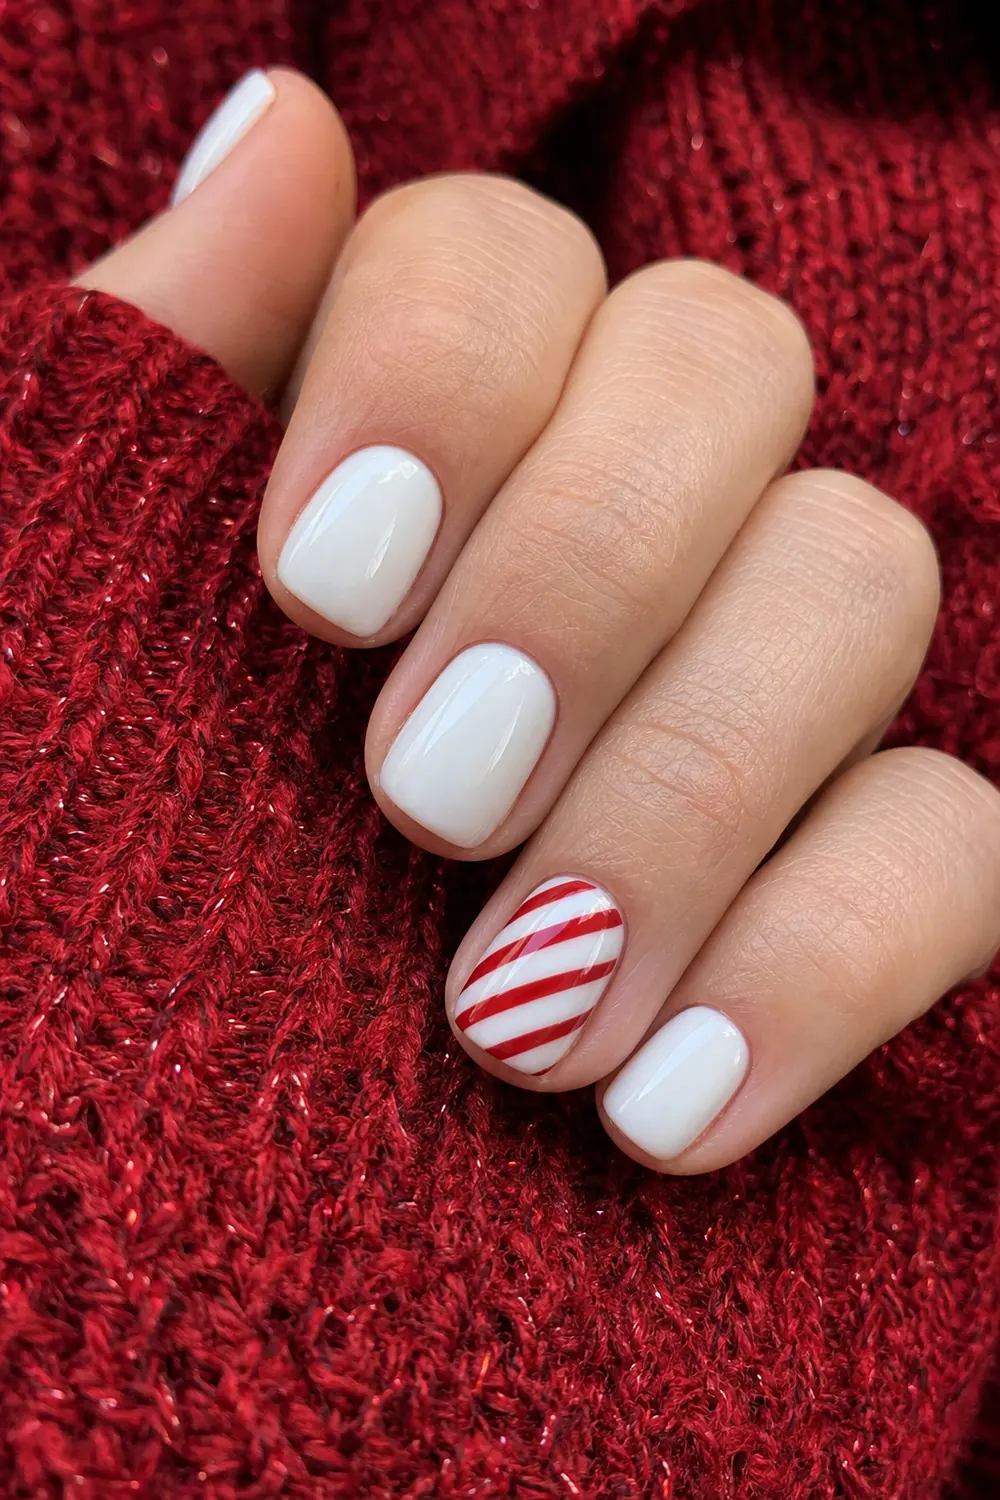
- Difficulty: Easy-medium
- Time: 40 min
- Polish or gel
Glossy white on every nail and diagonal red stripes on the ring finger. Lay strips of striping tape at an angle over dry white polish, paint red over the gaps and pull the tape off right away. A slightly hand-painted look is fine here, which makes it a forgiving first nail art project.
11. Falling Snow Dots with a Holly Accent
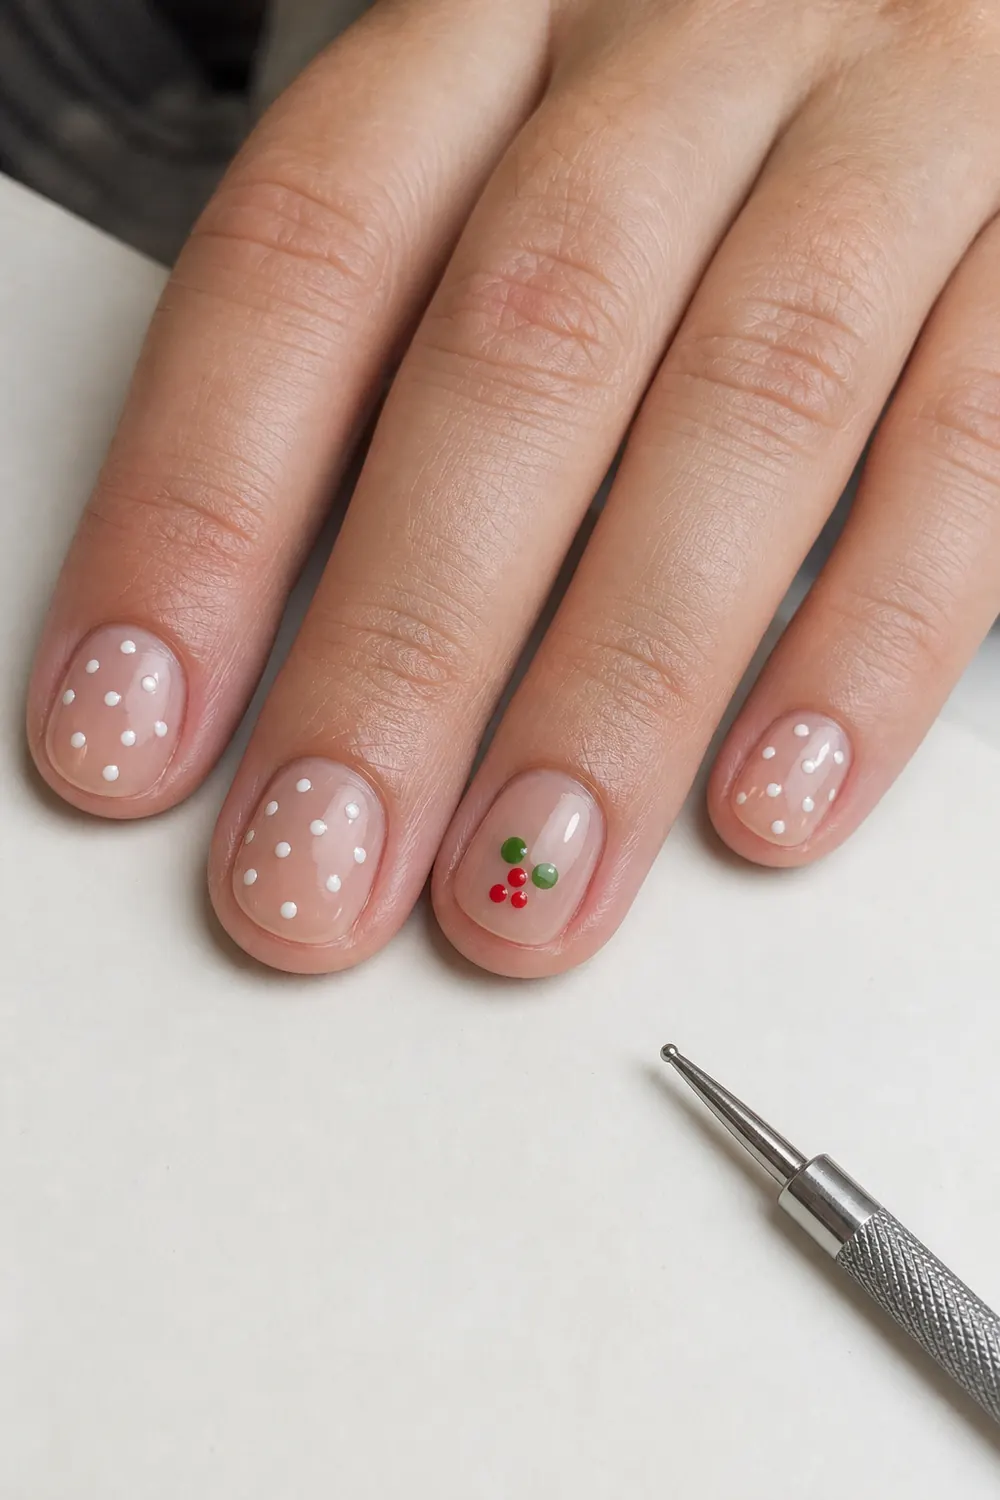
- Difficulty: Easy
- Time: 30 min
- Polish or gel
Pure dot art: white dots scattered like falling snow on most nails, and a tiny holly on one nail made of two green dots and three red ones. Vary the dot sizes by using both ends of your dotting tool, and dip it again after every two or three dots so they stay round. This is the best place to start if you've never done nail art.
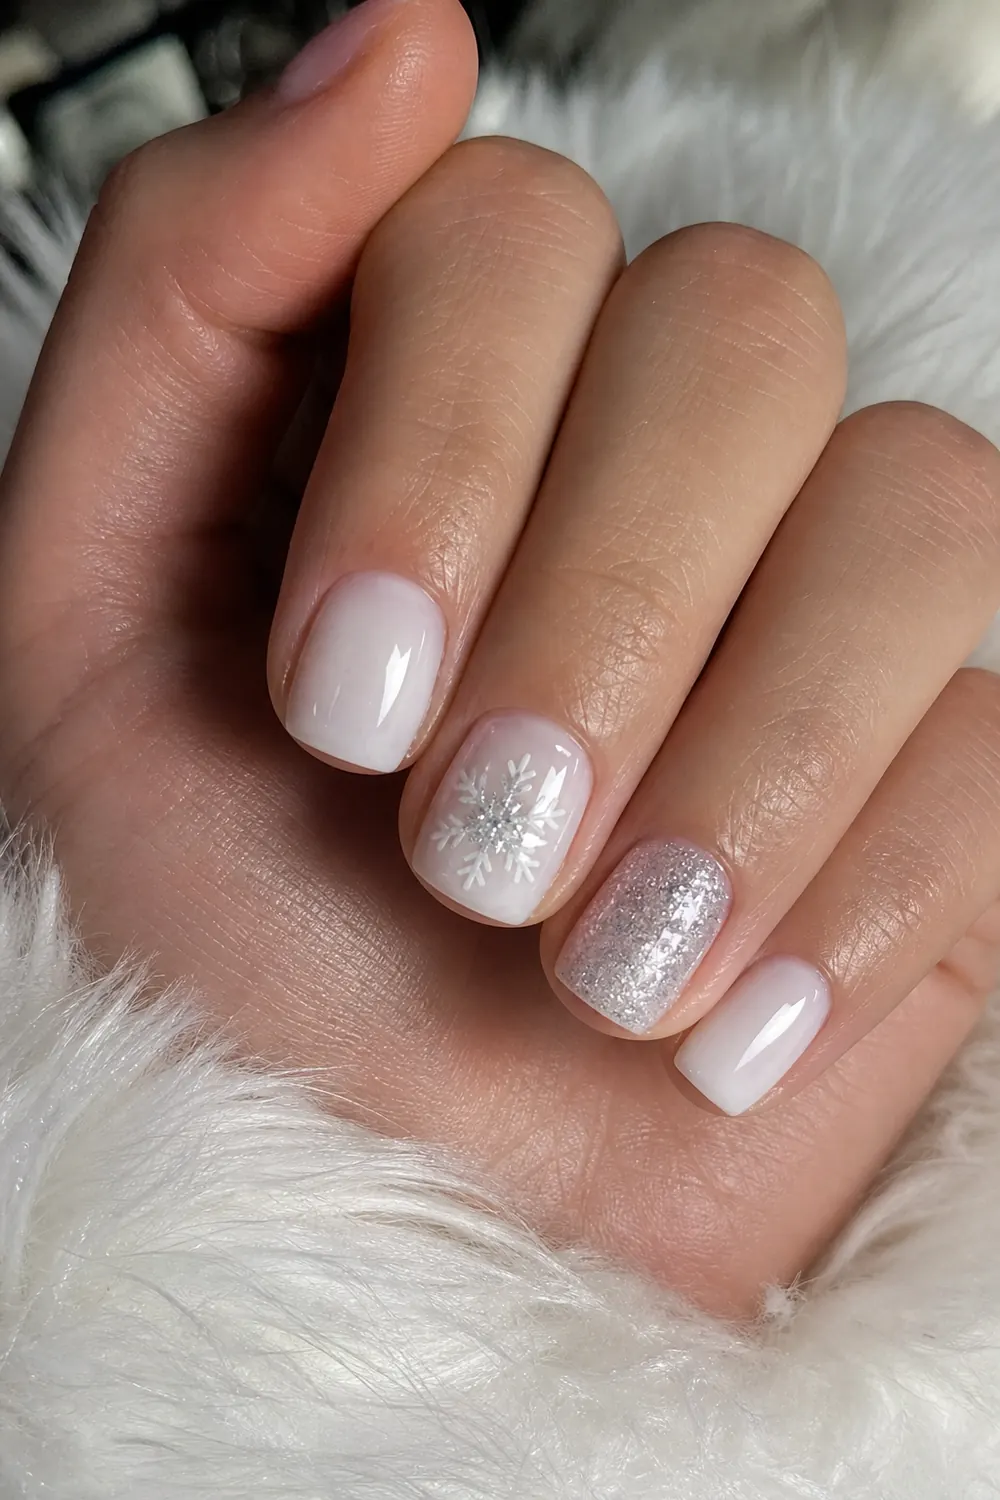
12. Milky White with Silver Glitter Nails
- Difficulty: Easy
- Time: 30 min
- Polish or gel
Soft milky white with a couple of nails fully covered in fine silver glitter, like a frosty winter morning. Build the glitter in two or three thin layers instead of one thick coat. Milky white can streak, so let each coat dry well before the next one.
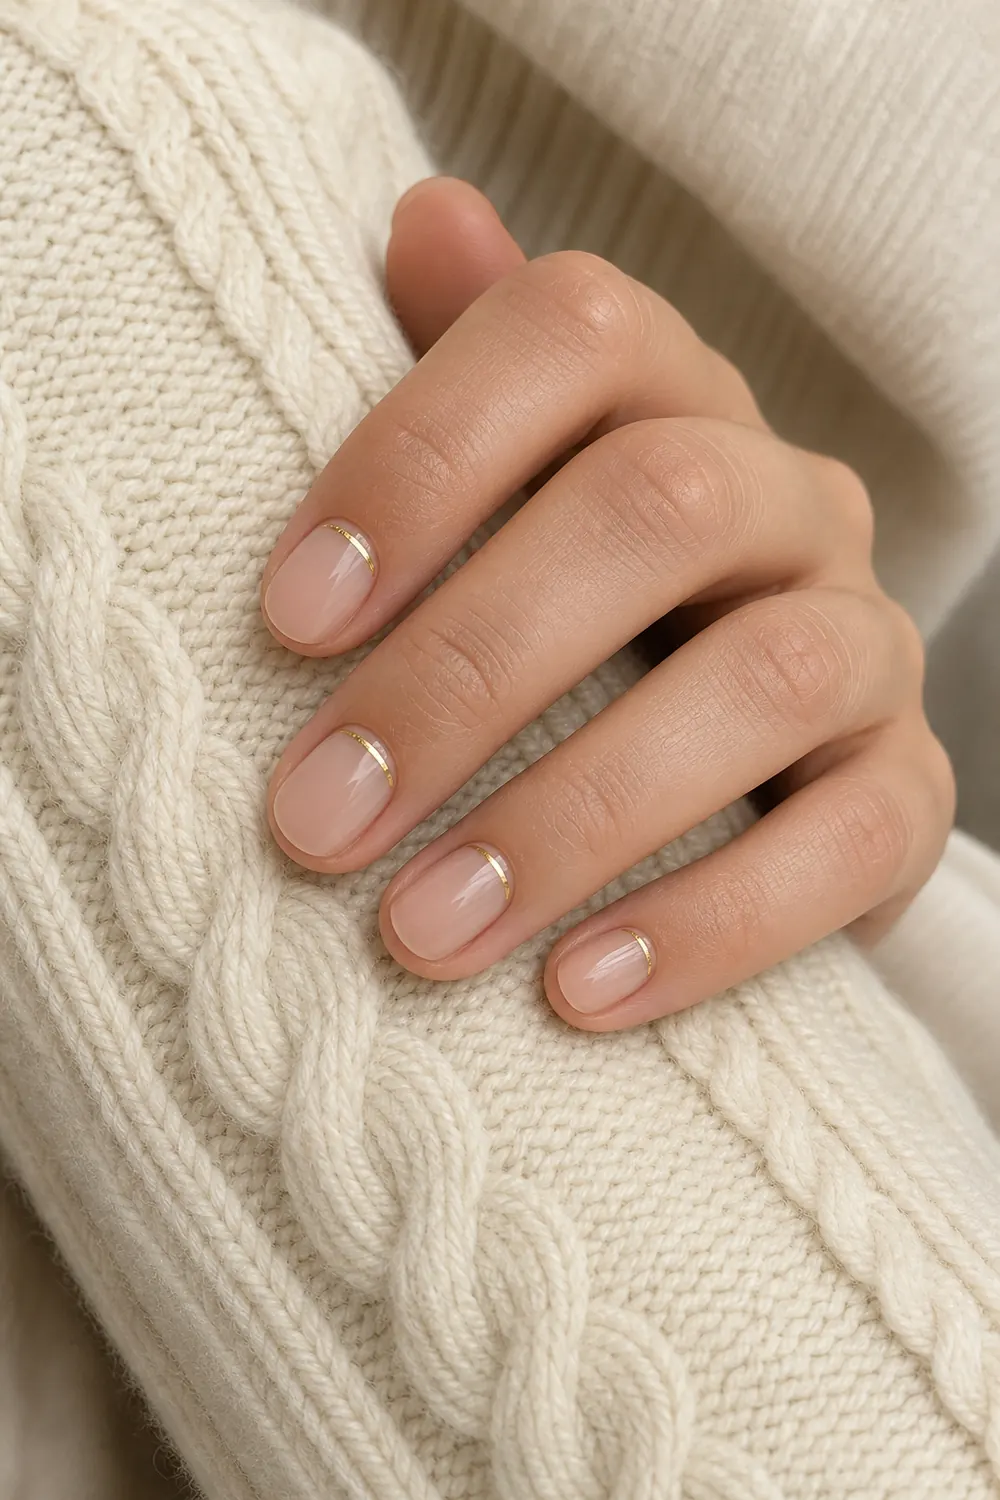
13. Sheer Nude with a Thin Gold Cuticle Line
- Difficulty: Easy-medium
- Time: 35 min
- Polish or gel
Sheer nude nails with one fine gold line following the curve of each cuticle, a quiet way to dress up short nails for the holidays. Use a liner brush with metallic gold polish or gel, and keep a tiny gap between the line and the skin. Do one hand fully before starting the other so you're not resting wet nails on the table.
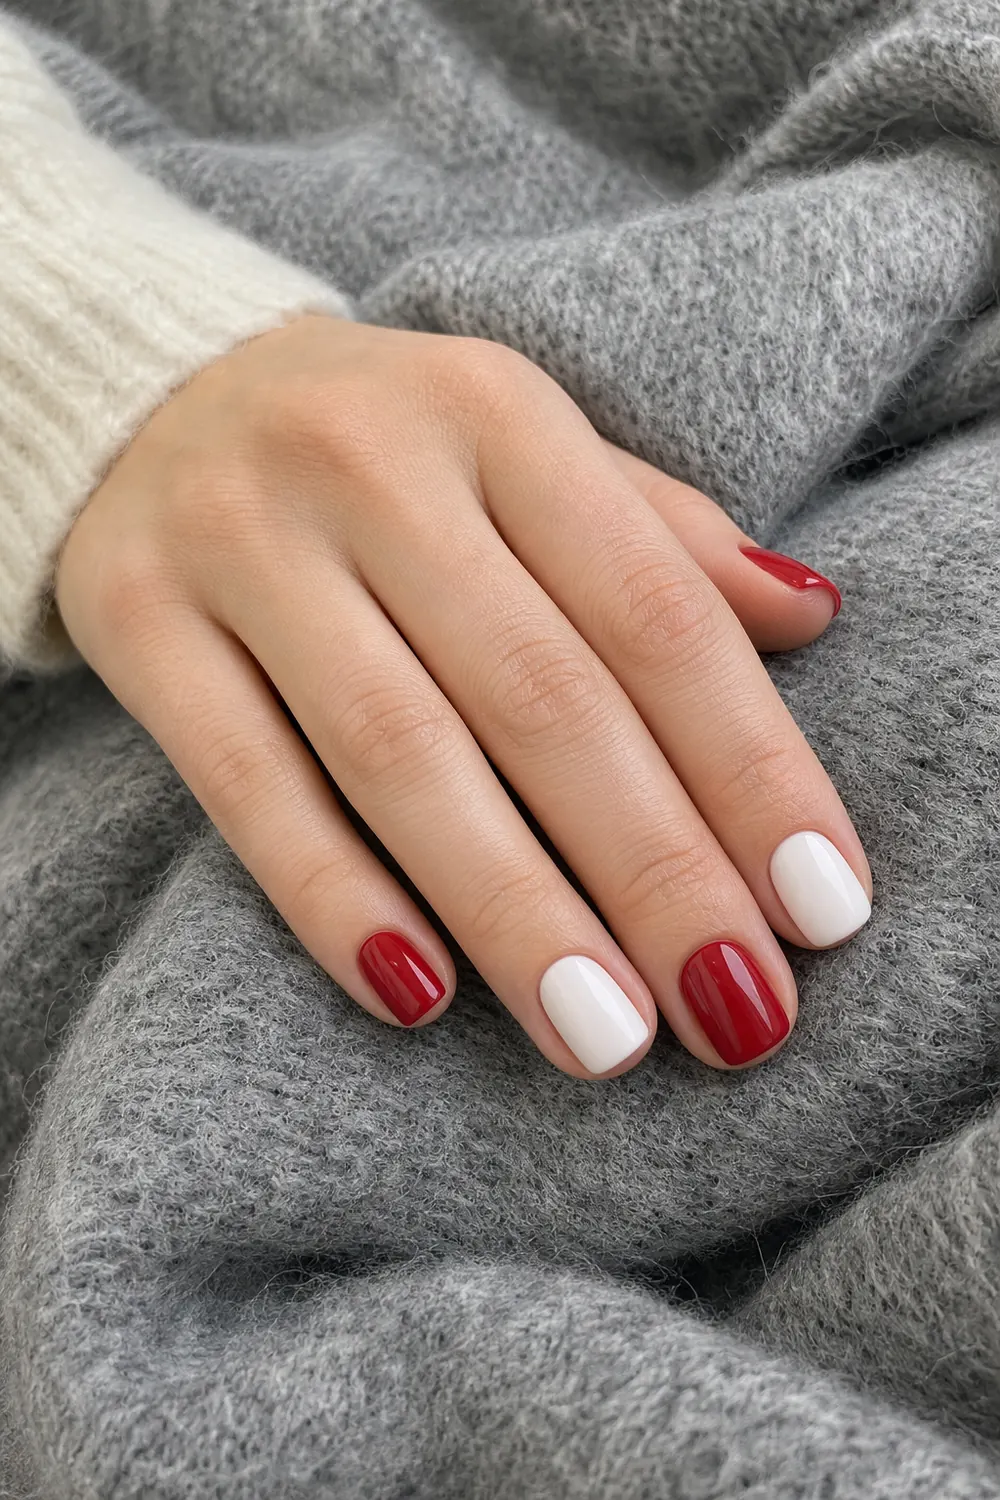
14. Alternating Cherry Red and Milky White
- Difficulty: Easy
- Time: 25 min
- Polish or gel
Cherry red and milky white on alternating nails, no art at all. It feels festive like a candy cane but takes the same time as a one-color manicure. Do all the white nails first, since white shows any red smudge, then fill in the red.
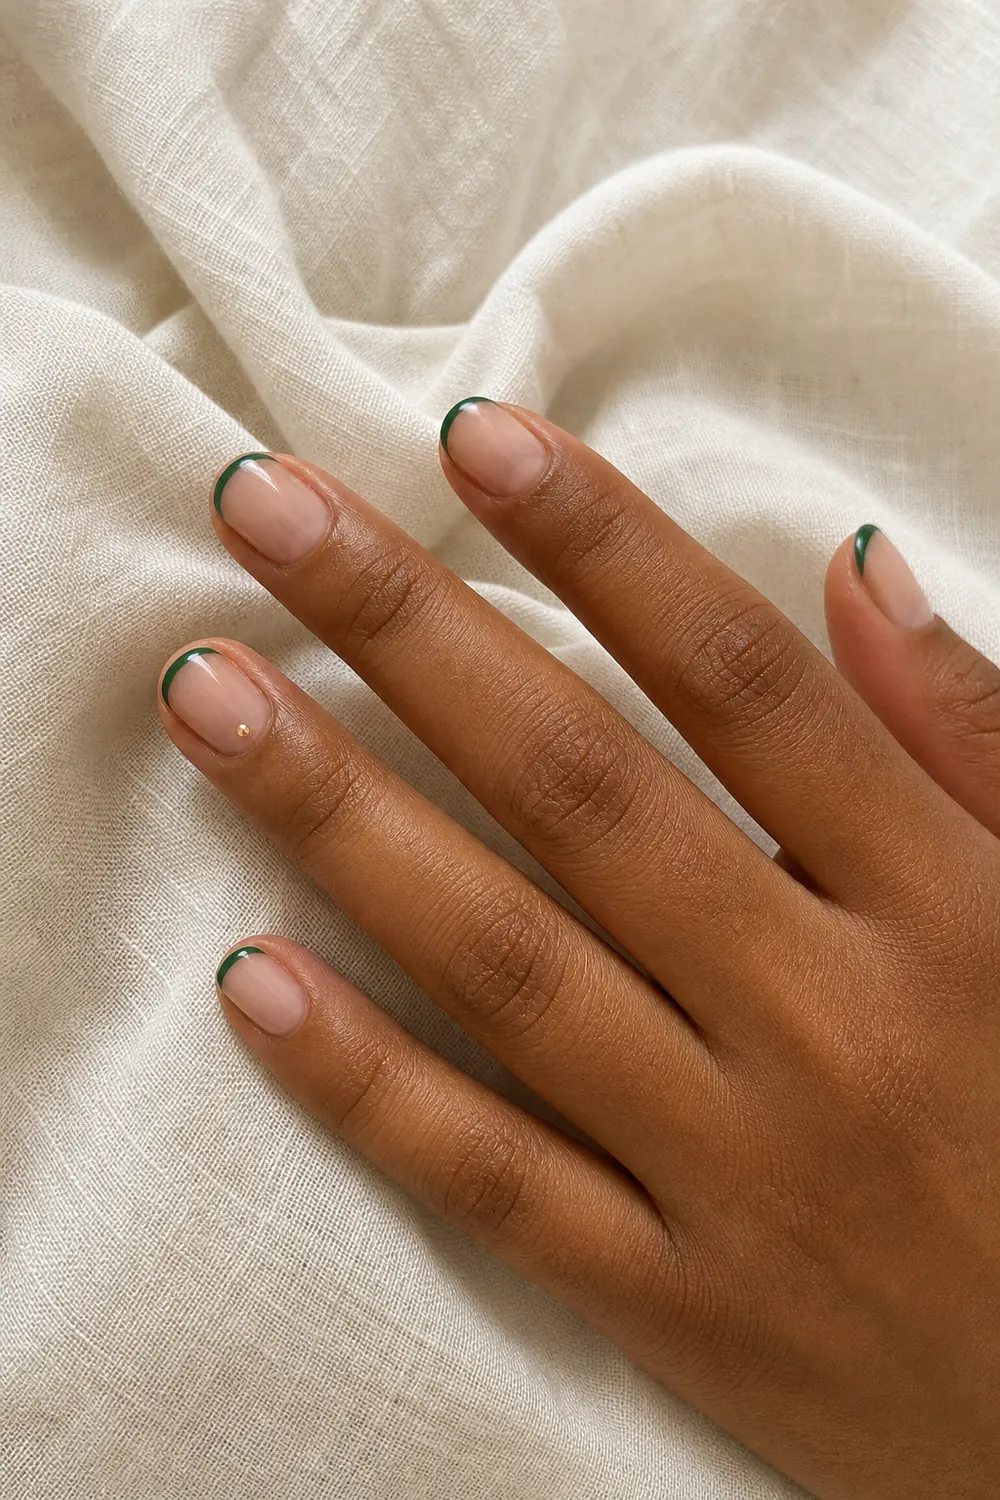
15. Deep Green French Tips with a Gold Dot
- Difficulty: Easy-medium
- Time: 35 min
- Polish or gel
Thin deep green French tips on a pink-beige base, with one tiny gold dot near the cuticle on the ring finger. On round nails, a curved tip guide sticker gives the cleanest smile line. The gold dot is optional, but it ties the look to the holidays without adding much work.
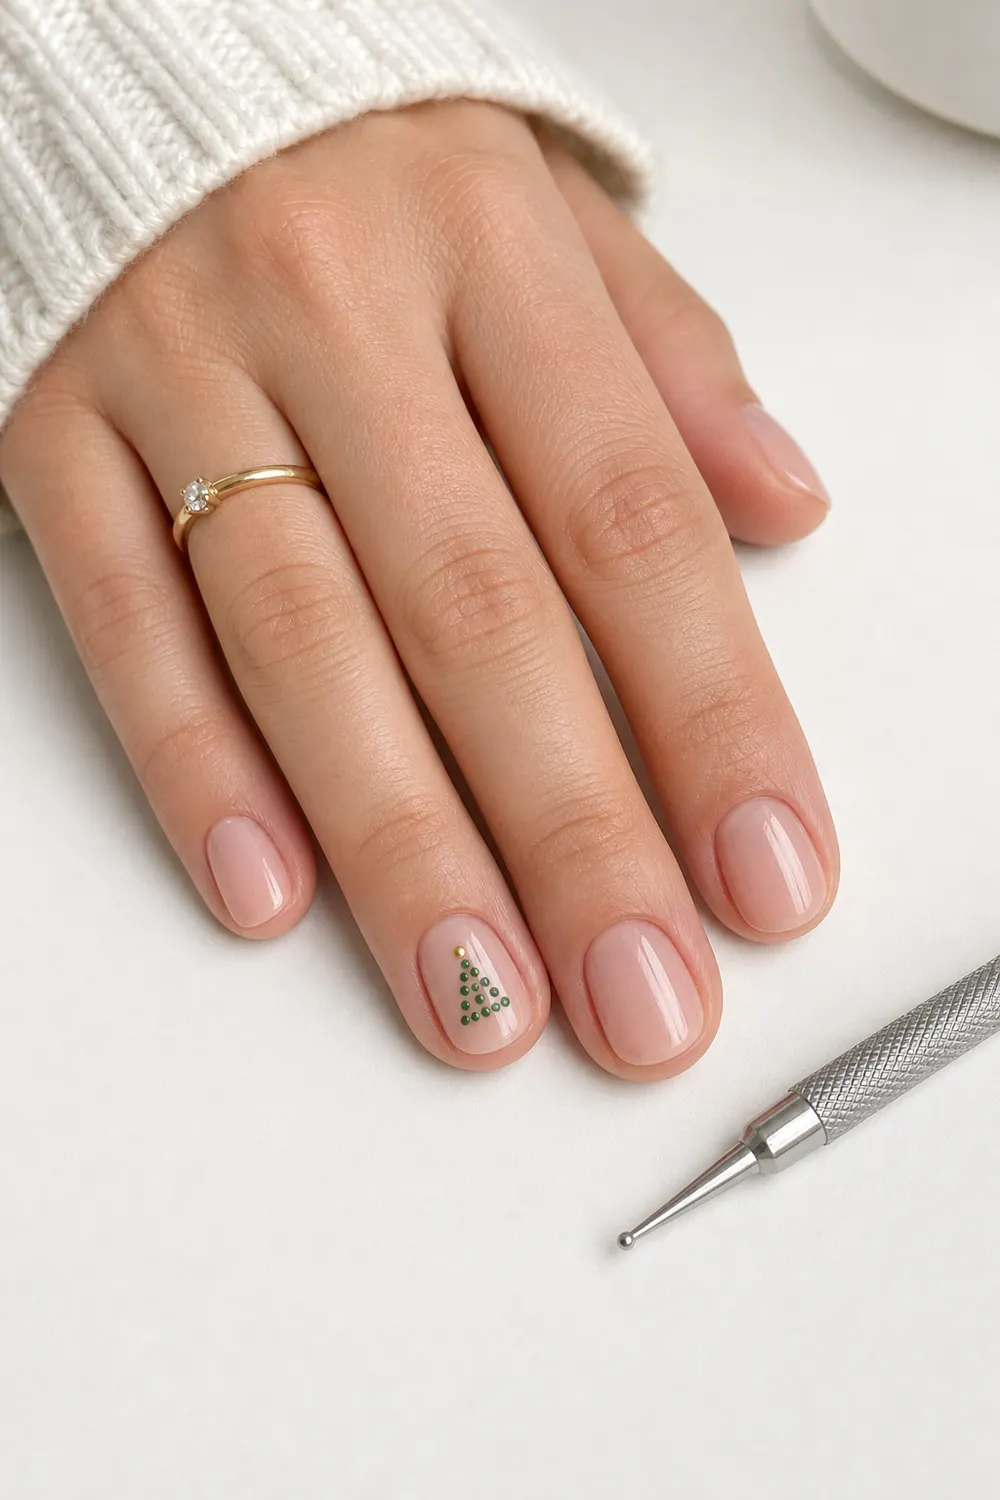
16. Dot Christmas Tree Accent Nail
- Difficulty: Easy
- Time: 25 min
- Polish or gel
A sheer pink-beige base with one accent nail showing a tiny tree built from green dots stacked in a triangle and a gold dot star on top. Start with the bottom row (three or four dots), then work up to a single dot. All you need is a dotting tool, and it's a nice first design for short gel nails at home.
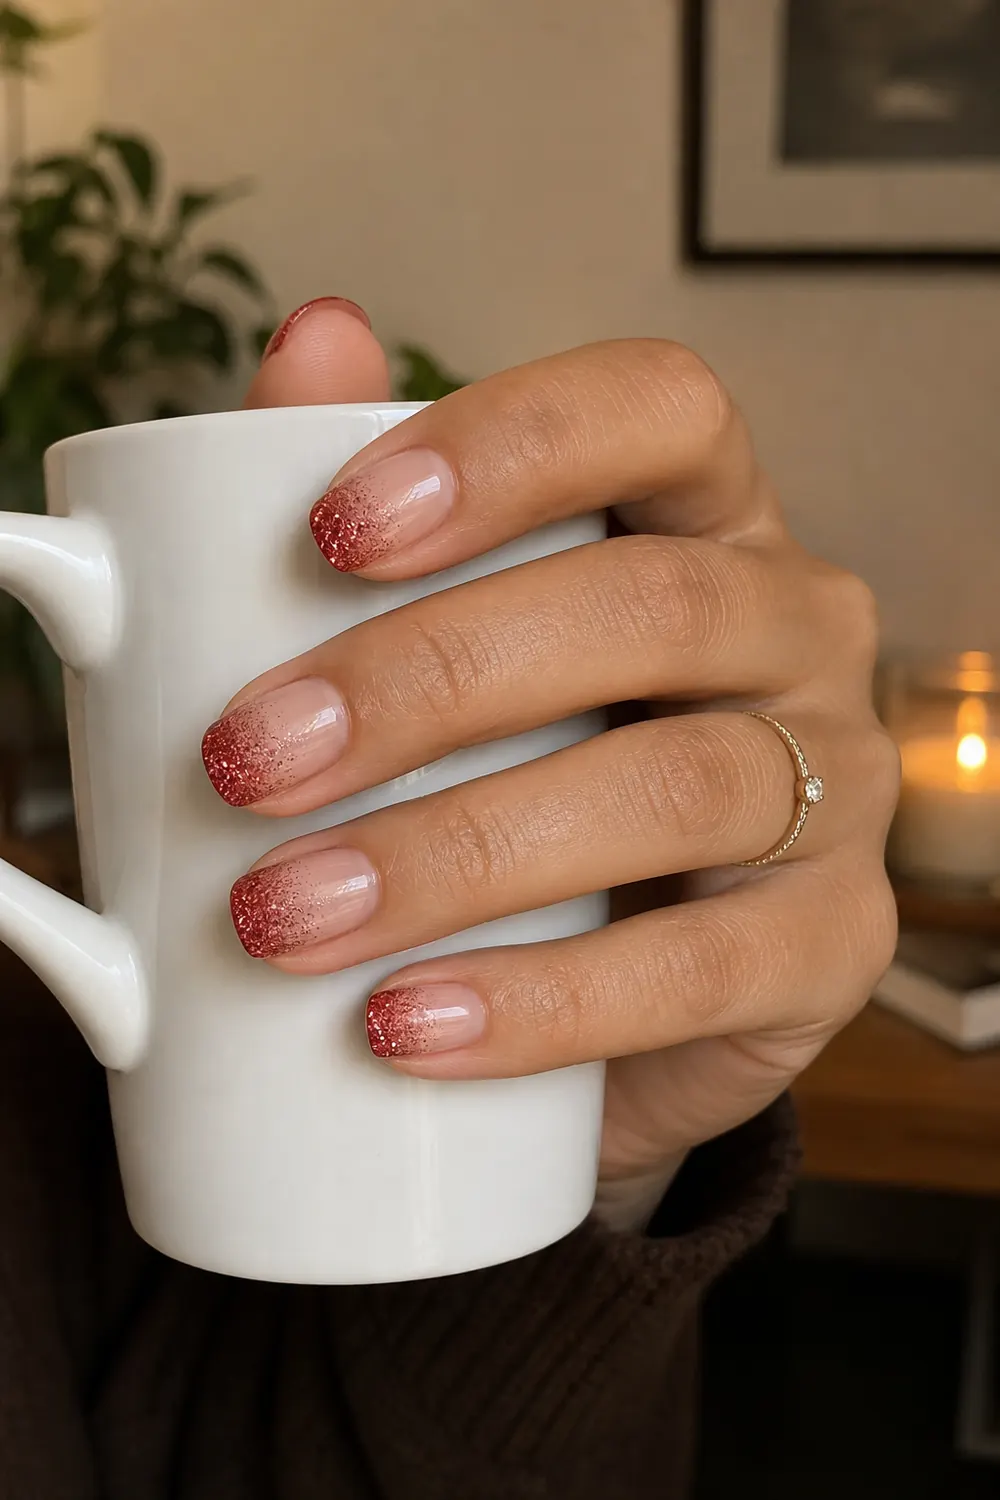
17. Red Glitter Gradient Tips
- Difficulty: Easy
- Time: 30 min
- Polish or gel
A sheer pink-beige base with red glitter packed at the tips and fading toward the middle of the nail. Dab the glitter polish onto a small makeup sponge and press it onto the tip, adding another layer only at the very edge to build the fade. Clean the skin around the nail before top coat, because the sponge gets messy.
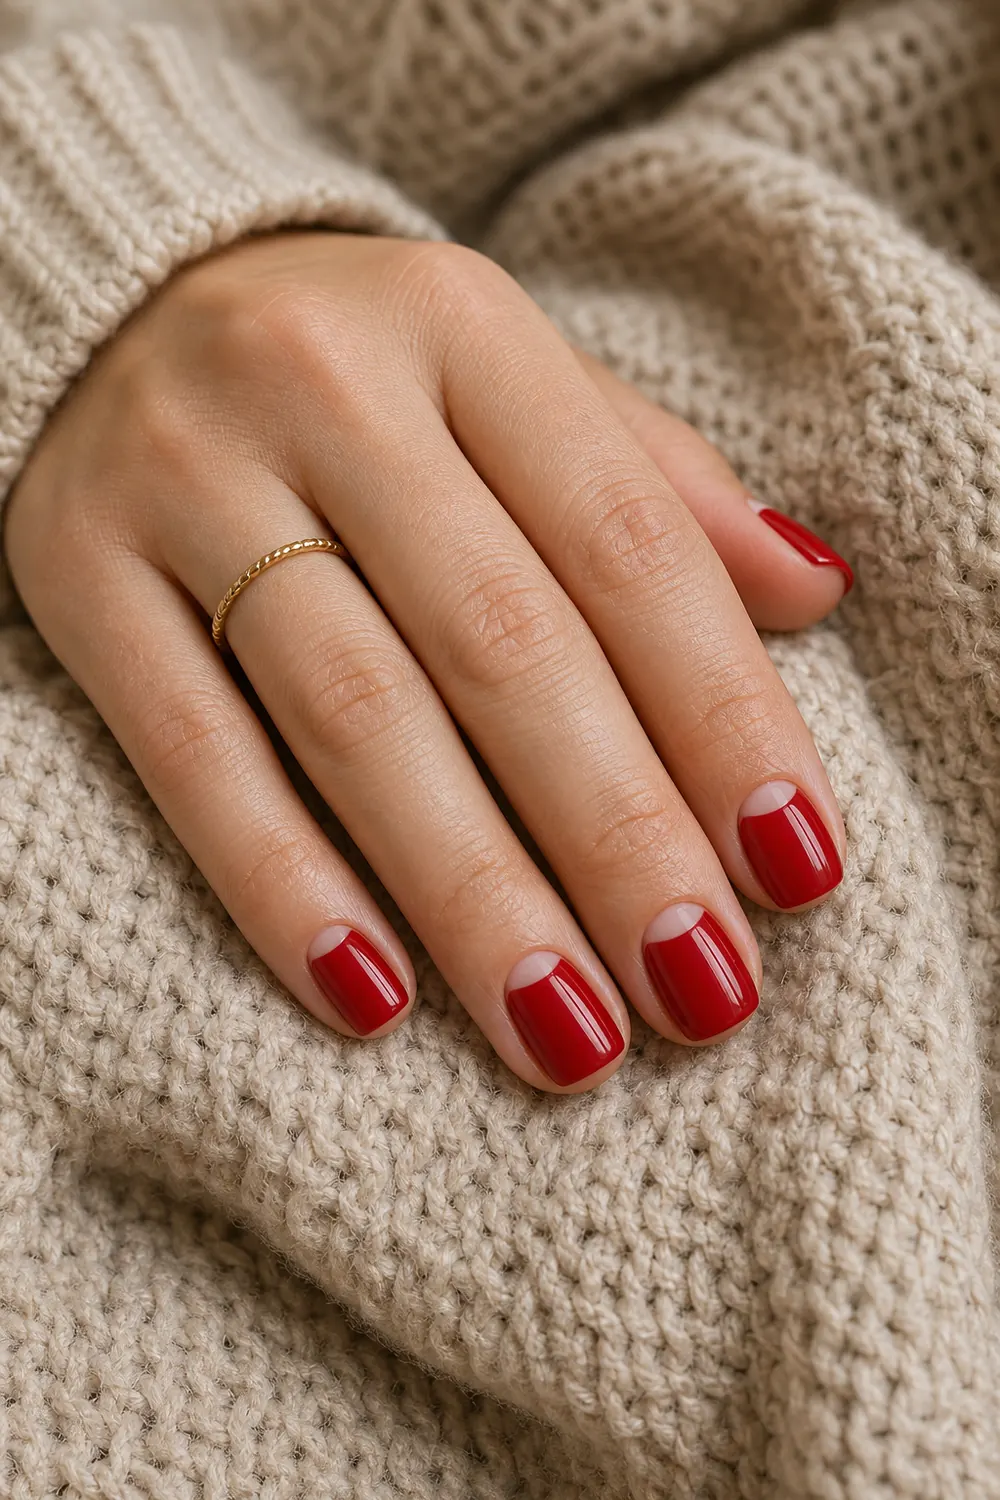
18. Red Half Moon Nails
- Difficulty: Easy-medium
- Time: 35 min
- Polish or gel
Glossy red with a small bare half moon left at the base of each nail, a retro look that also hides grow-out for a few extra days. Place a round hole reinforcement sticker or a piece of curved tape at the base, paint the red over it and peel while wet. Over a clear base coat, the bare moon still looks finished.
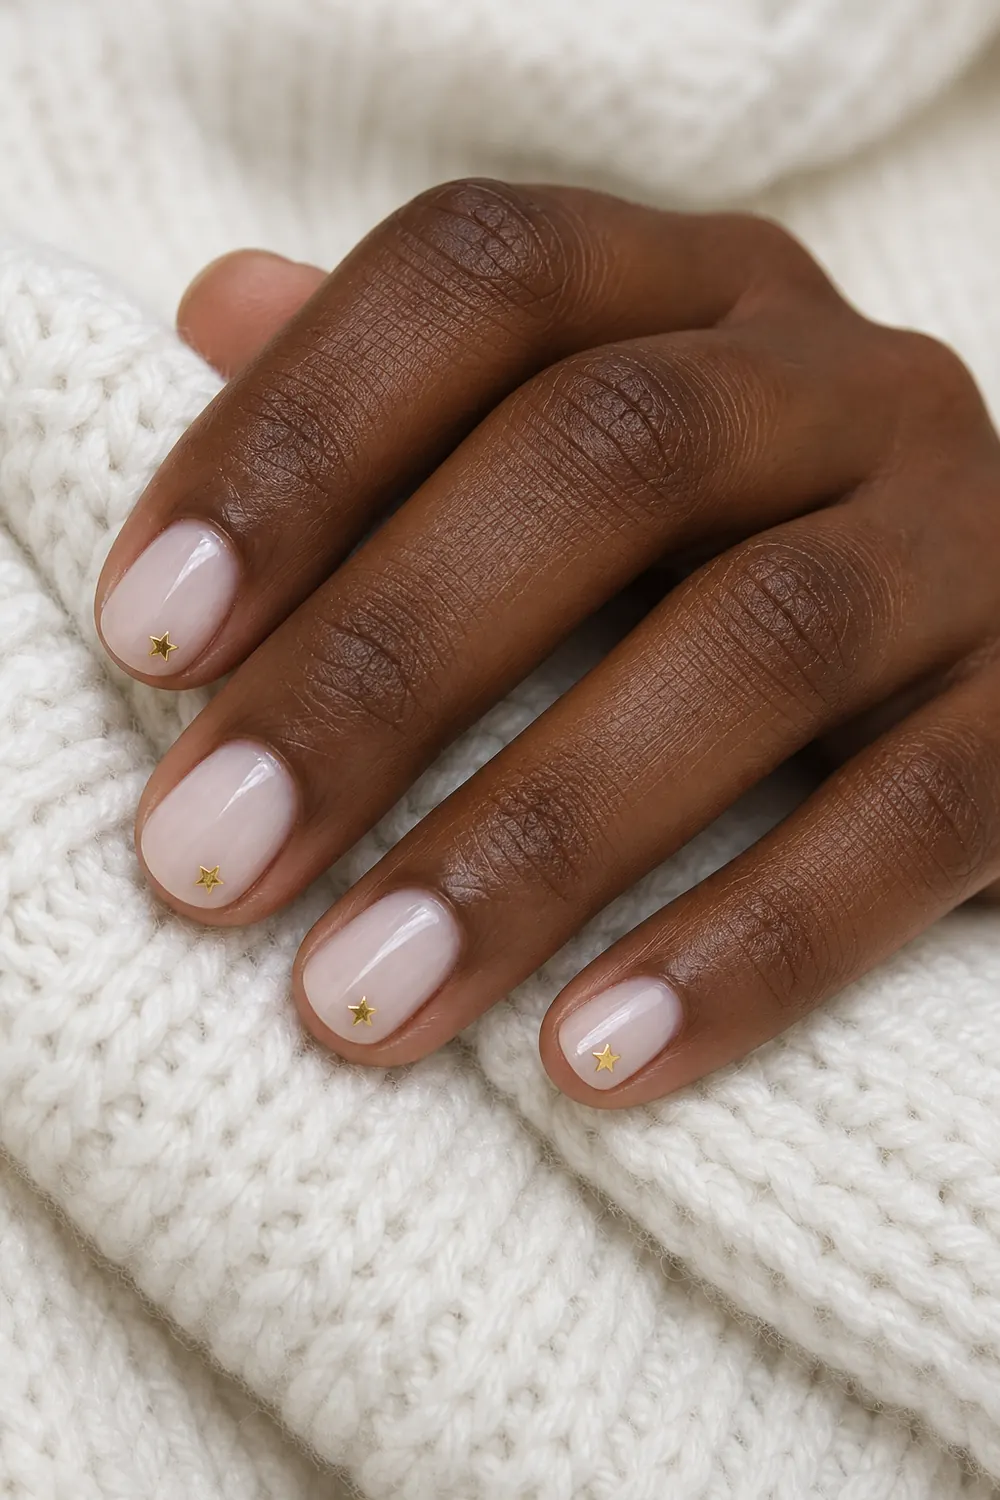
19. Milky White with Gold Star Stickers
- Difficulty: Easy
- Time: 25 min
- Polish or gel + nail stickers
Sheer milky white with one tiny gold star sticker near the tip of a few nails. Pick up each sticker with tweezers or a dotting tool dipped in a little top coat, press it down, then seal with two coats of top coat. It's the fastest way to get crisp nail art with zero painting skill.
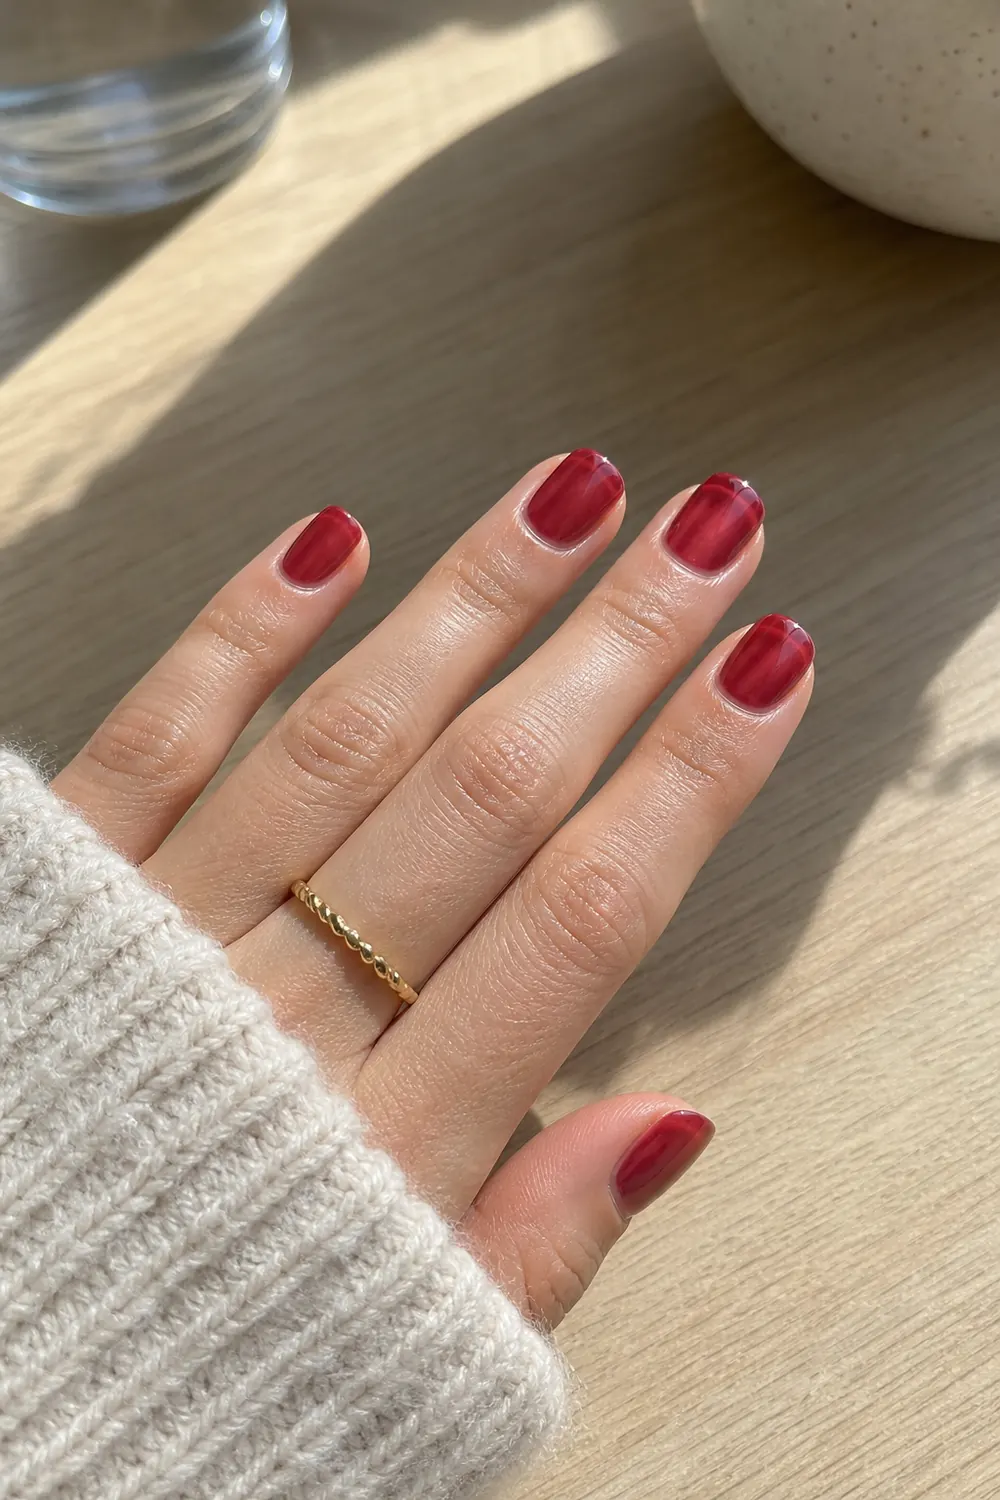
20. Red Jelly Nails
- Difficulty: Easy
- Time: 20 min
- Polish or gel
A see-through red that looks like cranberry glass, and it's the most forgiving color on this list because sheer polish hides small mistakes. Use a jelly polish or gel, or mix a drop of red into clear top coat. Two coats gives that glassy depth; a third makes it look closer to classic red.
How to Make Short Christmas Nails Last Through the Holidays
Short nails already have an advantage: there’s less length to snag, so they chip less. A few habits make them last from the office party to New Year’s.
- Prep first. Push back cuticles, file the shape and wipe each nail with alcohol or remover before the base coat. Polish holds on much better to a clean, dry nail.
- Thin coats only. Two thin coats of color dry harder than one thick coat, whether you use regular polish or gel. Thick gel can wrinkle or stay soft under the surface.
- Cap the free edge. Run the brush along the very tip of the nail with every layer, including top coat. It’s the single best trick against tip wear.
- Seal the art. Let dots, lines and stickers dry completely, then float the top coat over them: load the brush, hold it just above the nail and let the polish flow on without pressing.
- Refresh the shine. For regular polish, add a thin layer of top coat every two or three days. For gel, wear gloves when you wash dishes or bake.
If you use gel, follow your lamp’s and your gel’s instructions for curing times, keep gel off your skin and cuticles (uncured gel on skin can lead to an allergy to acrylates), and clean up any mistakes before you cure. For a full walkthrough of the gel routine, see Easy DIY Christmas Gel Nails.
Which Short Christmas Design Should You Start With?
If you’re new to nail art, start with dots. The falling snow dots, the dot Christmas tree and the tiny holly all use just one dotting tool, and a wobbly dot still looks like a dot. Next up are stickers and glitter accents, which give a finished look with no painting at all.
Once you’re comfortable, move on to lines: micro French tips, the gold cuticle line and the snowflake. These need a thin liner brush and a steady hand. Rest your painting hand’s pinky on the table and turn the finger you’re painting, not the brush.
Short square and squoval shapes are the easiest for French tips because the edge is straight. Short round nails are better for half moons and cuticle lines because the curve follows your natural nail. If you want even quieter looks for the season, try Simple Christmas Nails That Aren’t Overdone, and for an all-red set, see Red Christmas Nails.
FAQ
What are the best Christmas nail designs for short nails?
Small details work best on short nails: tiny dots, thin French tips, one accent nail with glitter or a mini motif. Large designs get cropped on a short nail, so keep each motif small and leave some nails plain.
Can I do Christmas gel nails on short nails at home?
Yes. Short nails are actually easier for DIY gel because there’s less surface to cover and less chance of flooding the cuticle. Use thin coats, cure each layer as your lamp’s instructions say and keep the gel off your skin.
How do I make short Christmas nails look longer?
Choose sheer nude or pink bases, micro French tips or a squoval shape, and leave a tiny gap at the cuticle when you paint. Very thin tips and vertical details make the nail look longer than dark color all the way to the edges.
What’s the easiest Christmas nail design for beginners?
A one-color red or green manicure with a single glitter accent nail is the easiest. If you want a bit of art, white snow dots made with a dotting tool are the simplest next step.