Gel Nails at Home Kit: Everything You Actually Need
A gel nails at home kit doesn't need to be big. To do a clean, glossy set on short nails, you need a lamp, a base and top coat, one or two colors and a few basic tools. Everything else, like magnets, chrome powder or builder gel, is something you can add once the basic routine feels easy.
Below, each item has a plain explanation of what it is, what to look for and whether a beginner needs it now or later. The pictures are nail illustrations that show where each tool comes in, not product photos. At the end you'll find tips for doing DIY gel nails at home with a UV light and the safety basics.
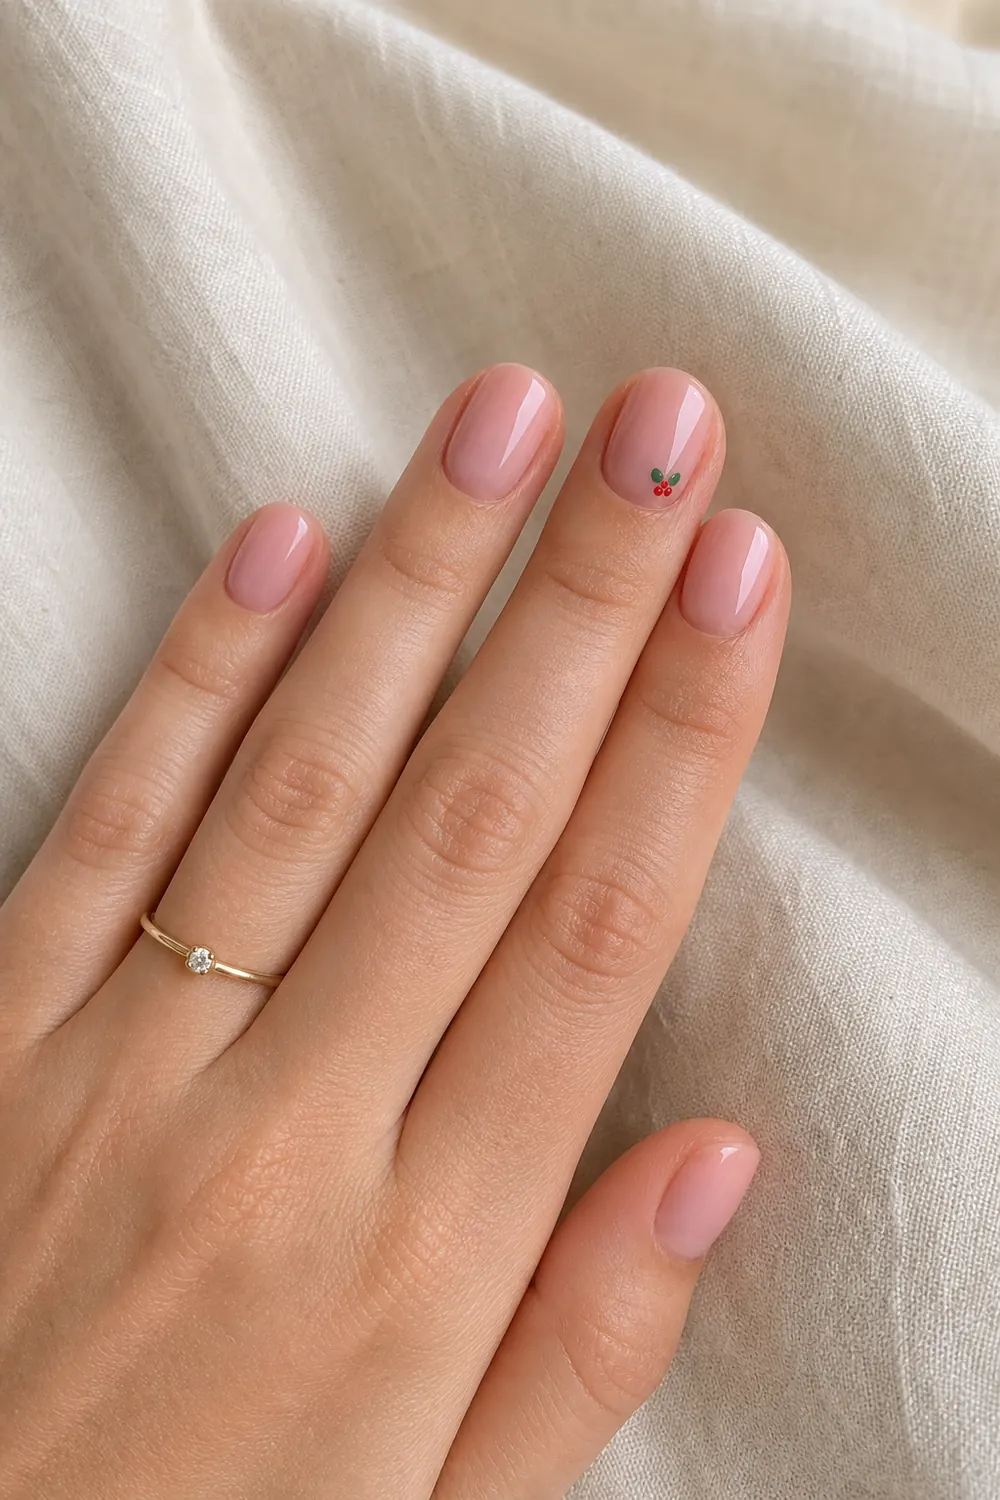
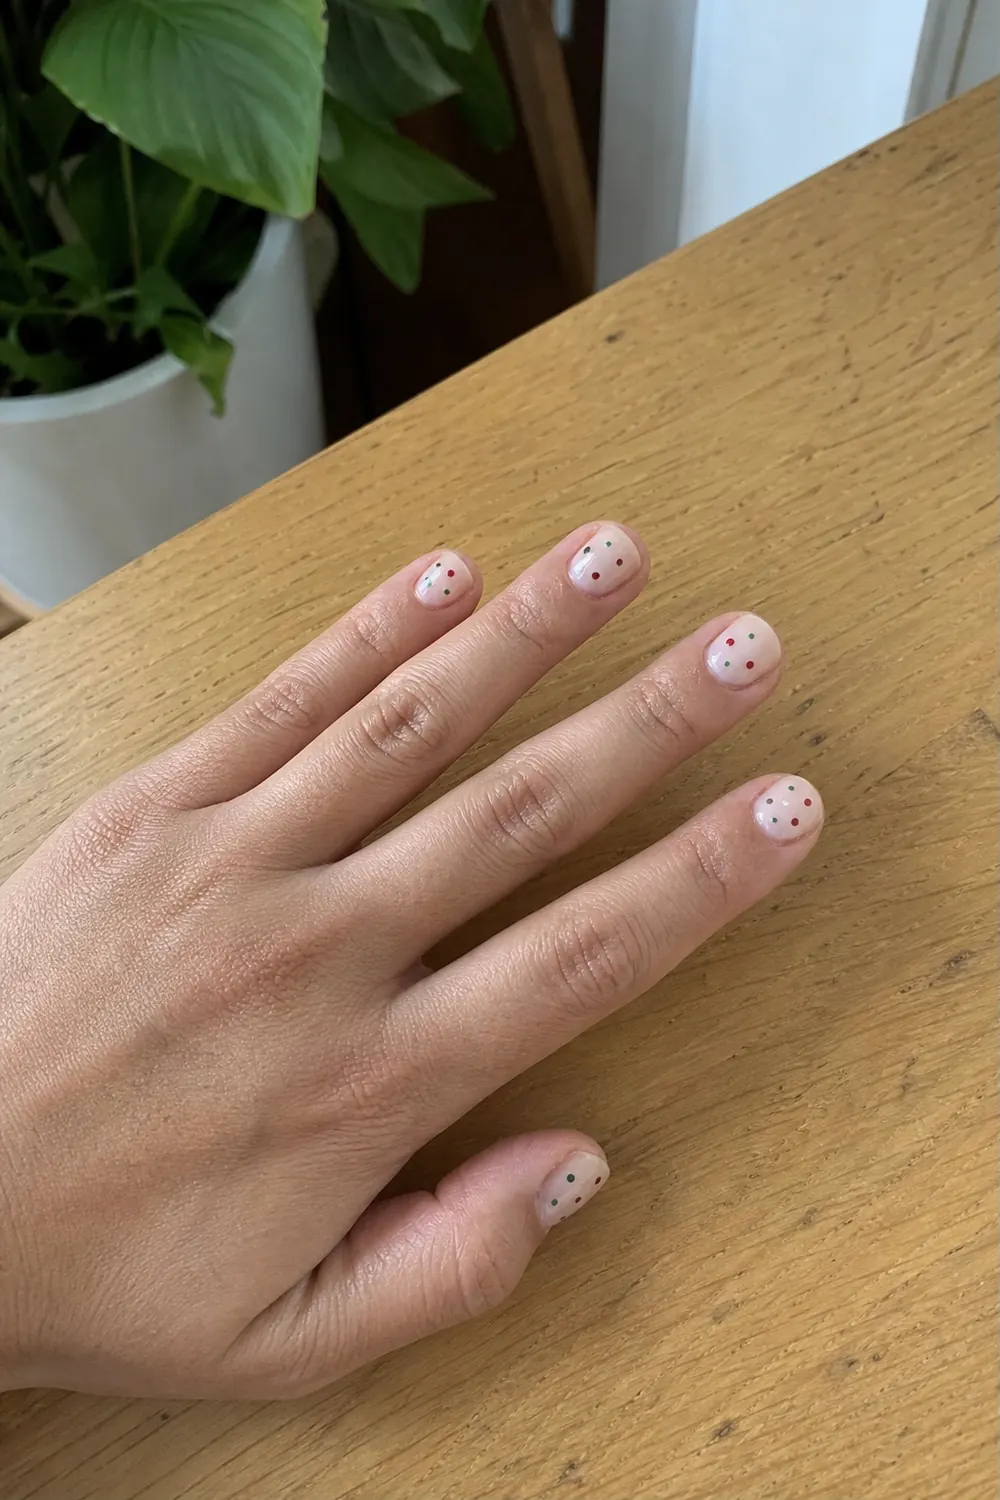
Nail designs in this post are AI-generated illustrations for inspiration, not photos of real manicures. About our images
What You Need
- LED/UV nail lamp
- Gel base coat and gel top coat
- Two or three gel colors (sheer pink or nude, red, milky white)
- Nail file, buffer block and cuticle pusher
- Lint-free wipes and isopropyl alcohol or gel cleanser
- Small cleanup brush or orangewood sticks
- Acetone, cotton pads and foil wraps or clips for removal
- Cuticle oil
1. LED/UV Nail Lamp
- Must-have
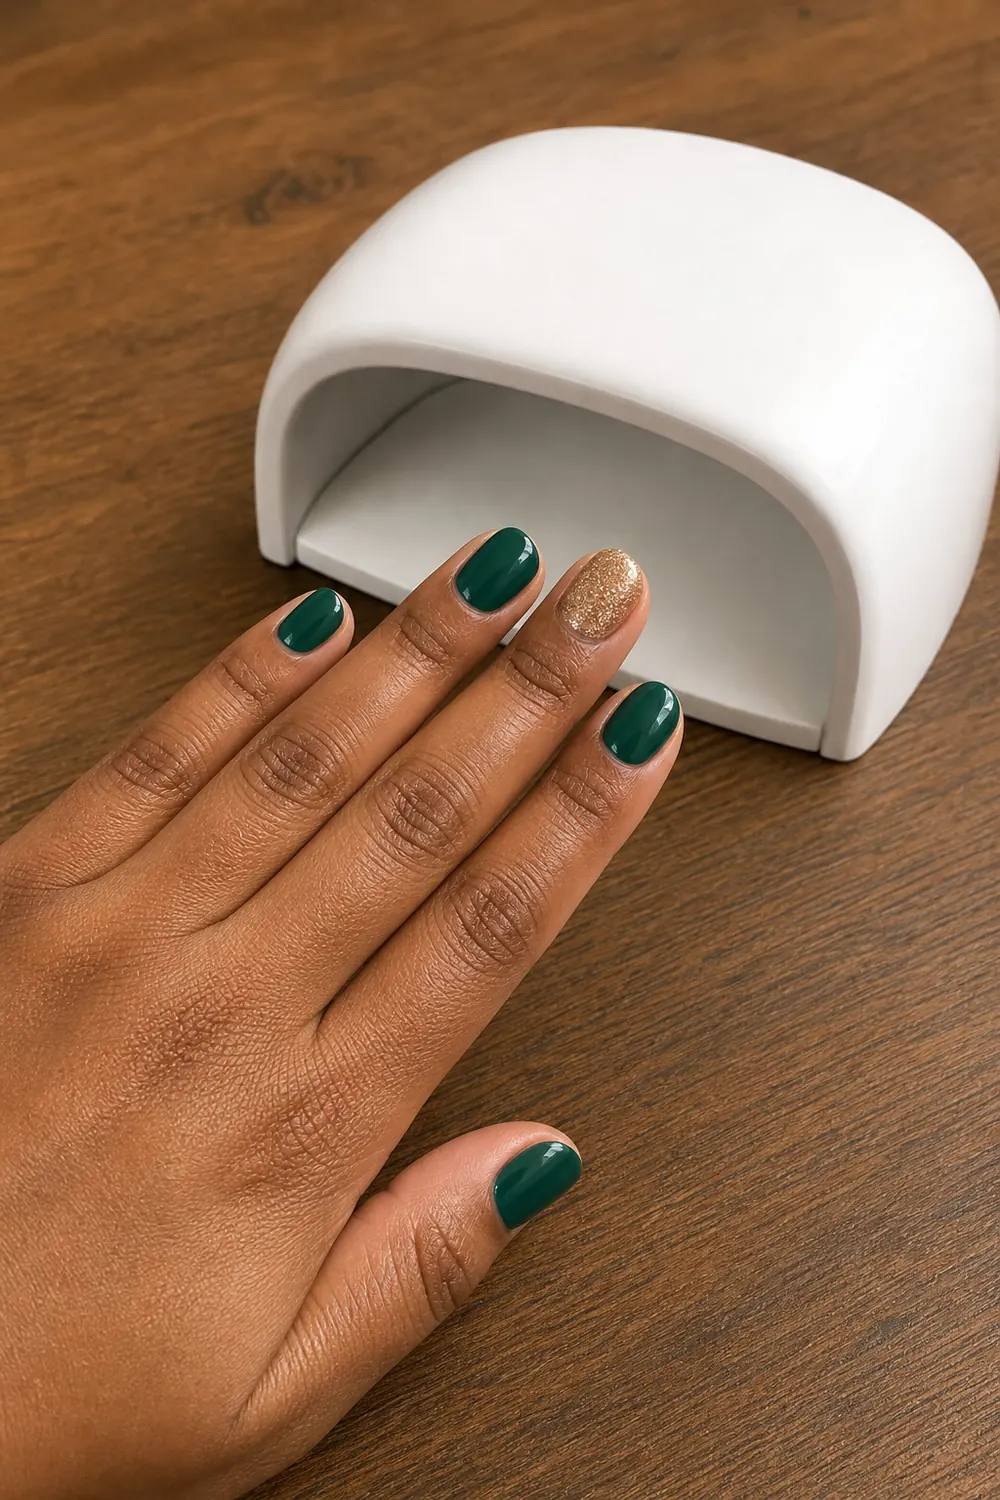
The lamp is the one thing gel can't work without, because gel polish only hardens under LED/UV light. Look for one that's wide enough to fit all four fingers lying flat, with a timer button so you don't have to count seconds. Before you buy gels, check that they say they cure under the type of lamp you have. A simple set like emerald green with a glitter accent only needs a basic lamp.
2. Gel Base Coat and Top Coat
- Must-have
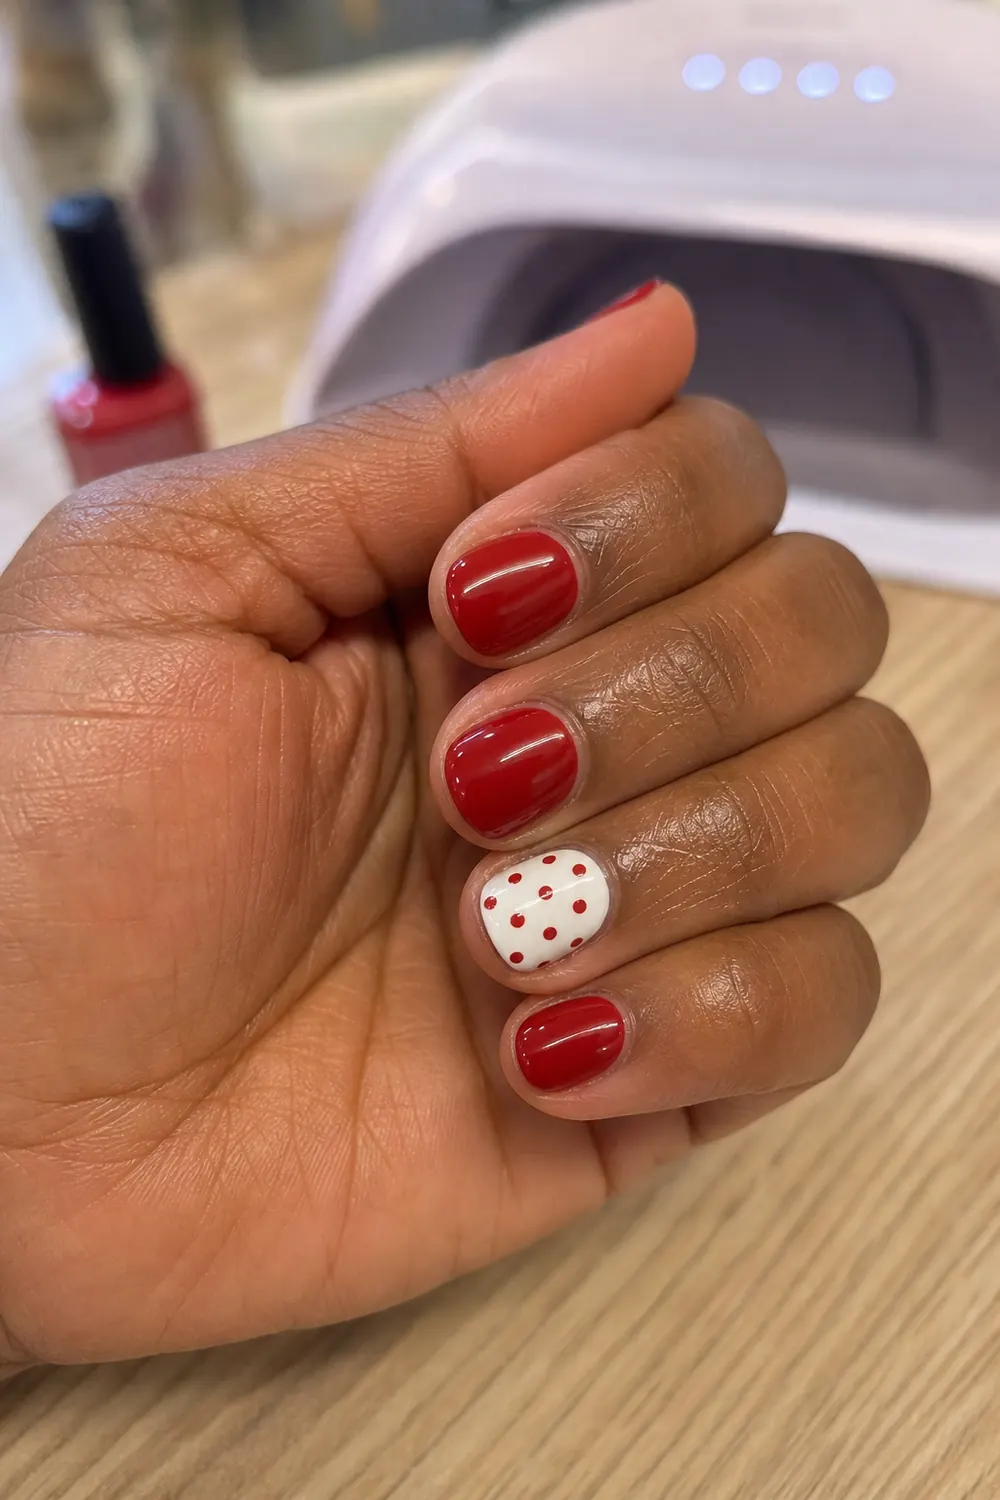
Base coat helps the gel grip your natural nail, and top coat seals the color and gives the shine. Regular top coat leaves a sticky layer after curing that you wipe off with alcohol; no-wipe top coat cures shiny and skips that step, so it's easier for beginners. Buy base, color and top coat that are meant to be used together, and follow their curing times. These two bottles get used on every single manicure, so they run out first.
3. Two or Three Gel Colors to Start
- Must-have
You don't need a big collection. Start with a sheer pink or nude (the most forgiving, since small mistakes barely show), a red for a classic look and a milky white for simple designs and dots. Shake or roll the bottles gently before use, and keep them closed and away from sunlight, since light can start to thicken gel in the bottle. Add more shades once you know which ones you actually wear.
4. Prep Tools: File, Buffer and Cuticle Pusher
- Must-have
Good prep is what keeps gel from peeling, and it only takes three simple tools. A medium nail file shapes the nails, a soft buffer block takes the shine off the surface so gel can grip, and a cuticle pusher gently moves the cuticle back. Pick a gentle buffer rather than a very rough one, because you only want to remove the shine, not thin the nail.
5. Lint-Free Wipes and Isopropyl Alcohol or Gel Cleanser
- Must-have
Right before base coat, you wipe each nail with alcohol or a gel cleanser to remove oil and dust. Lint-free wipes matter because cotton pads leave tiny fibers that get stuck in the gel. You'll use the same wipes to remove the sticky layer from a regular top coat and to clean your brushes.
6. Cleanup Brush or Orangewood Stick
- Must-have
This is the tool beginners skip and then wish they had. Before each cure, you use it to remove any gel that touched your skin or cuticles. A small flat brush dipped in alcohol works well, and wooden orangewood sticks are a simple option. Keep one next to your lamp so the check becomes a habit.
7. Builder Gel (Optional, for Short Bendy Nails)
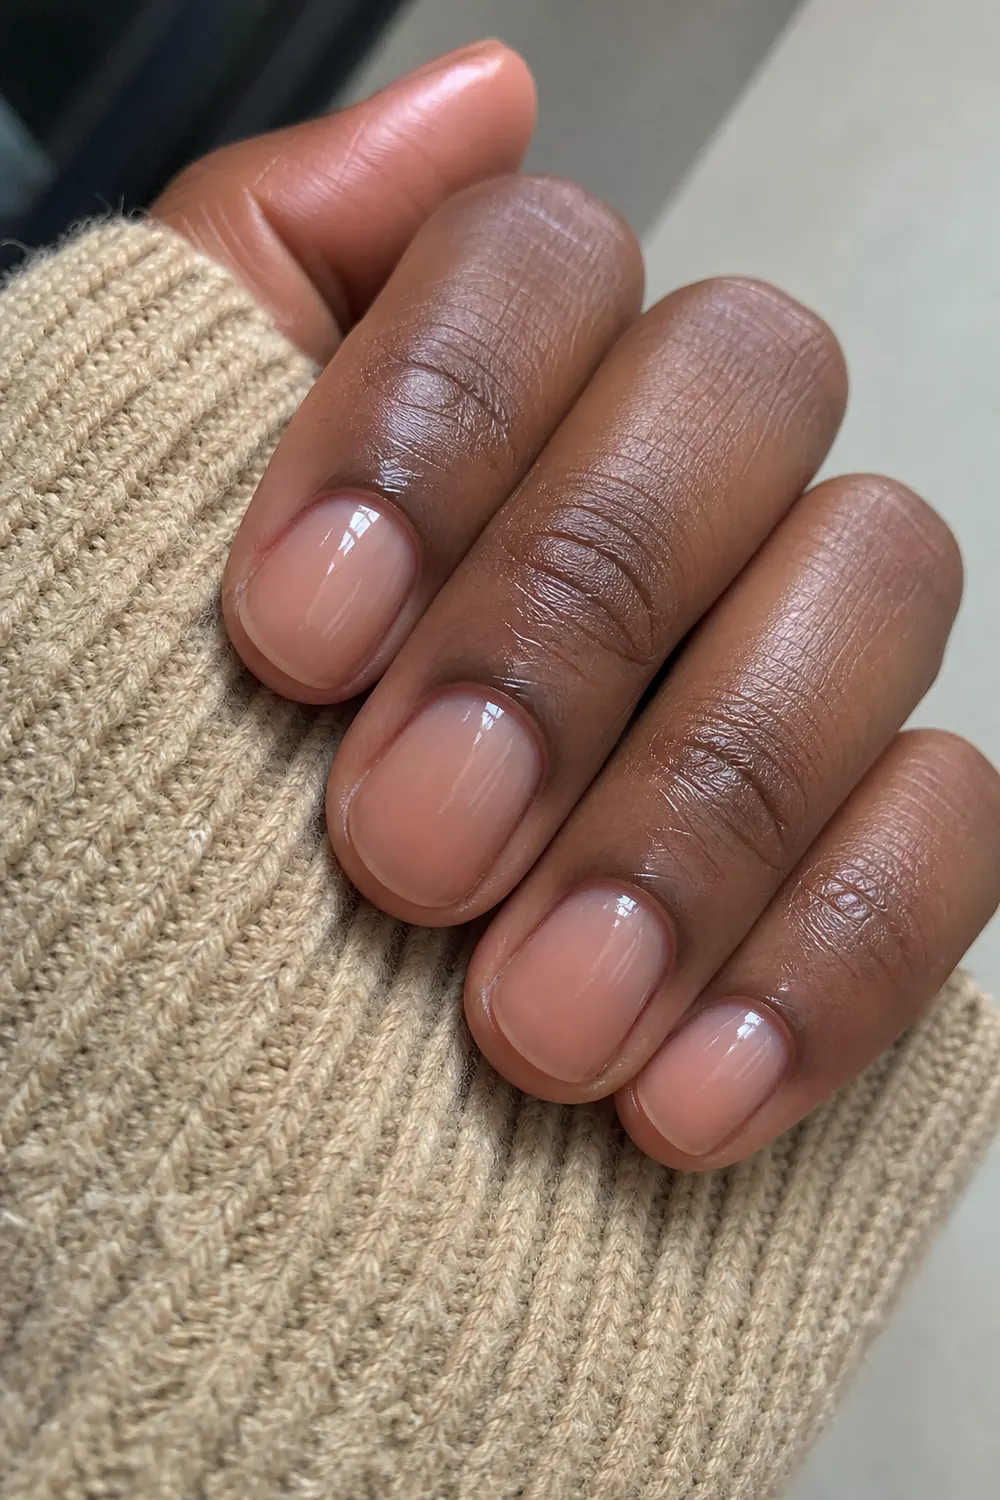
- Optional
Builder gel is a thicker gel that can add a protective layer and help short, bendy nails look smooth and neat, like a sheer nude overlay. It's applied a bit differently from gel polish, so learn the basic routine first. When you're ready, look for a sheer pink, nude or milky shade and check whether your builder gel needs a base coat underneath. For ideas, see builder gel Christmas nails.
8. Dotting Tool and Thin Liner Brush
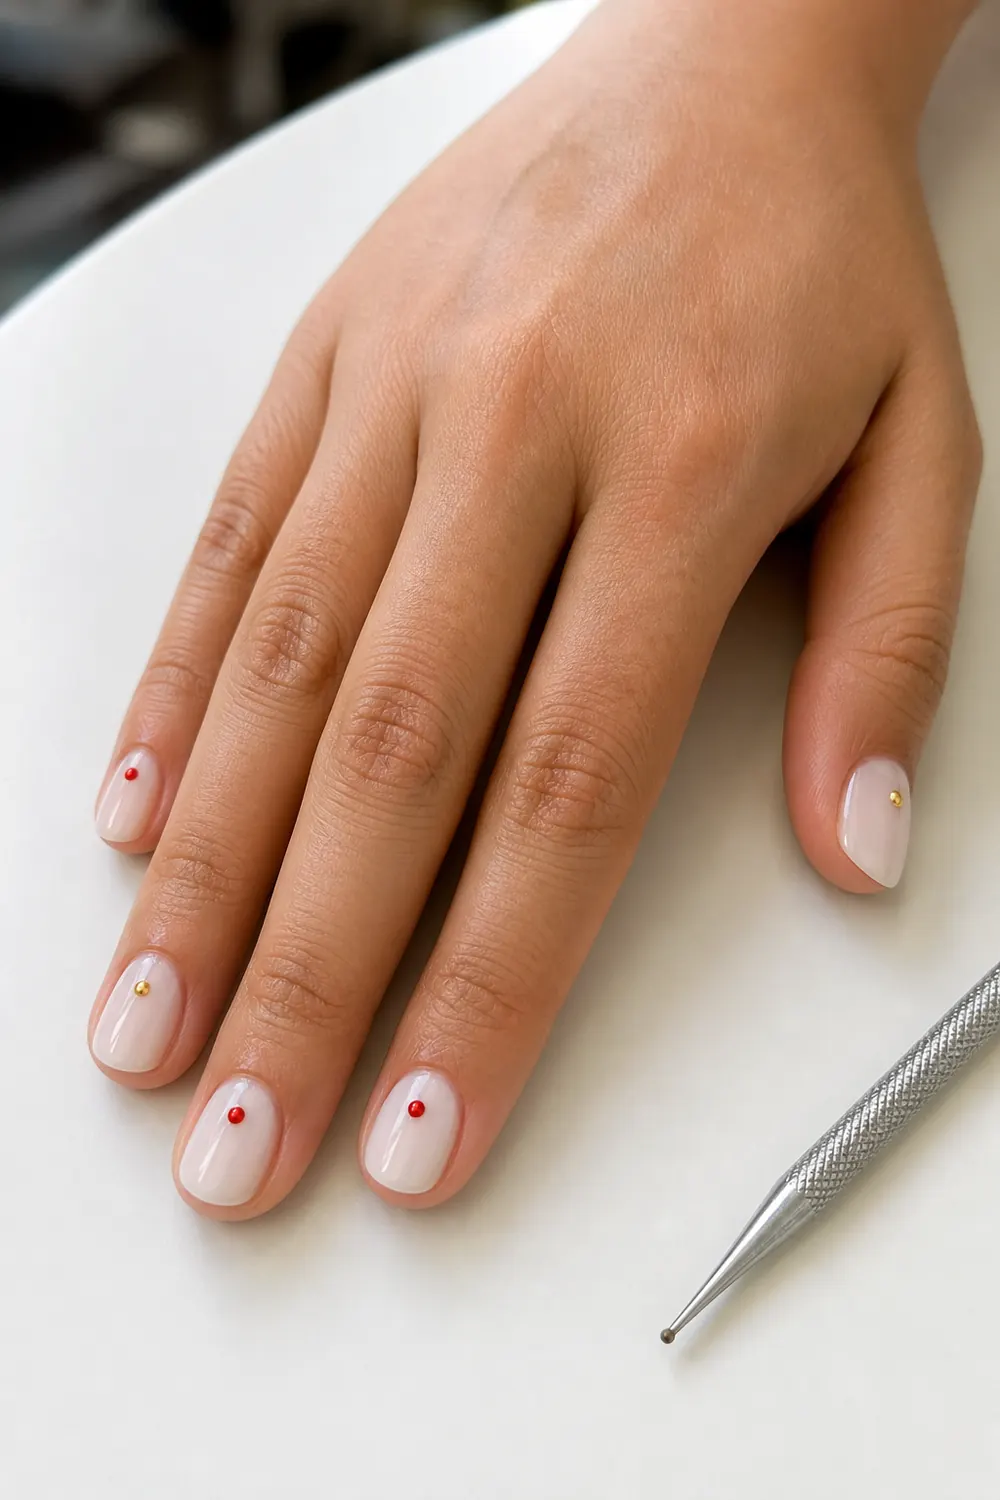
- Nice to have
These two small tools cover most beginner nail art. A dotting tool makes dots, ornaments and tiny hearts, and a thin liner (striping) brush paints French tips and simple lines. Look for a dotting tool with two different-sized ends. Put a drop of gel on a piece of foil and dip into that, rather than into the bottle.
9. Magnet for Cat-Eye Gel (Optional)
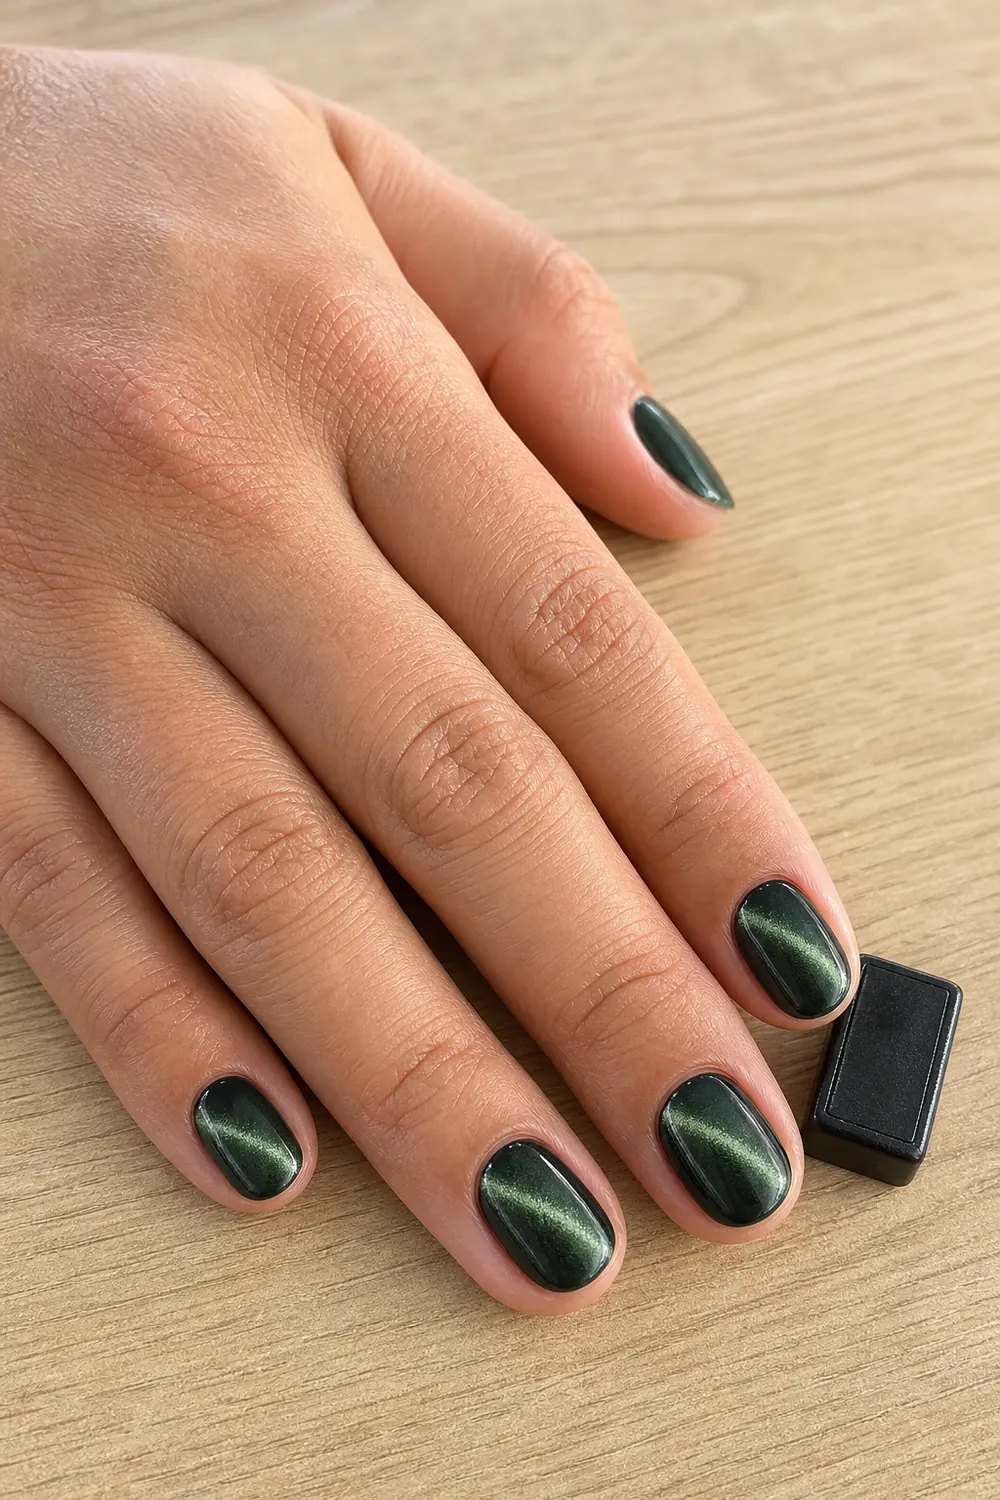
- Optional
Cat-eye gel has tiny magnetic particles, and a small magnet pulls them into a glowing line or a soft velvet shimmer. You only need it if you buy magnetic gel, and many magnetic gels don't include one. Hold it close to the nail, not touching, for a few seconds, then cure right away before the shimmer settles.
10. Removal Supplies: Acetone, Cotton Pads, Foil or Clips
- Must-have
Plan for removal from the start, because peeling gel off is what damages nails the most. For soak-off gel you'll need acetone, cotton pads, foil wraps or reusable nail clips, a file to break the top coat and a cuticle pusher to slide off the softened gel. Check your product's removal instructions, since some gels are made to be filed off instead.
11. Cuticle Oil
- Nice to have
A drop of cuticle oil around each nail after your manicure, and once a day after that, keeps the skin soft and the set looking fresh. Apply it around the nail, not on it, right after you finish. Keep it away from your nails during prep, because any oil on the surface makes gel lift.
12. Optional Extras: Striping Tape, Stickers and Chrome Powder
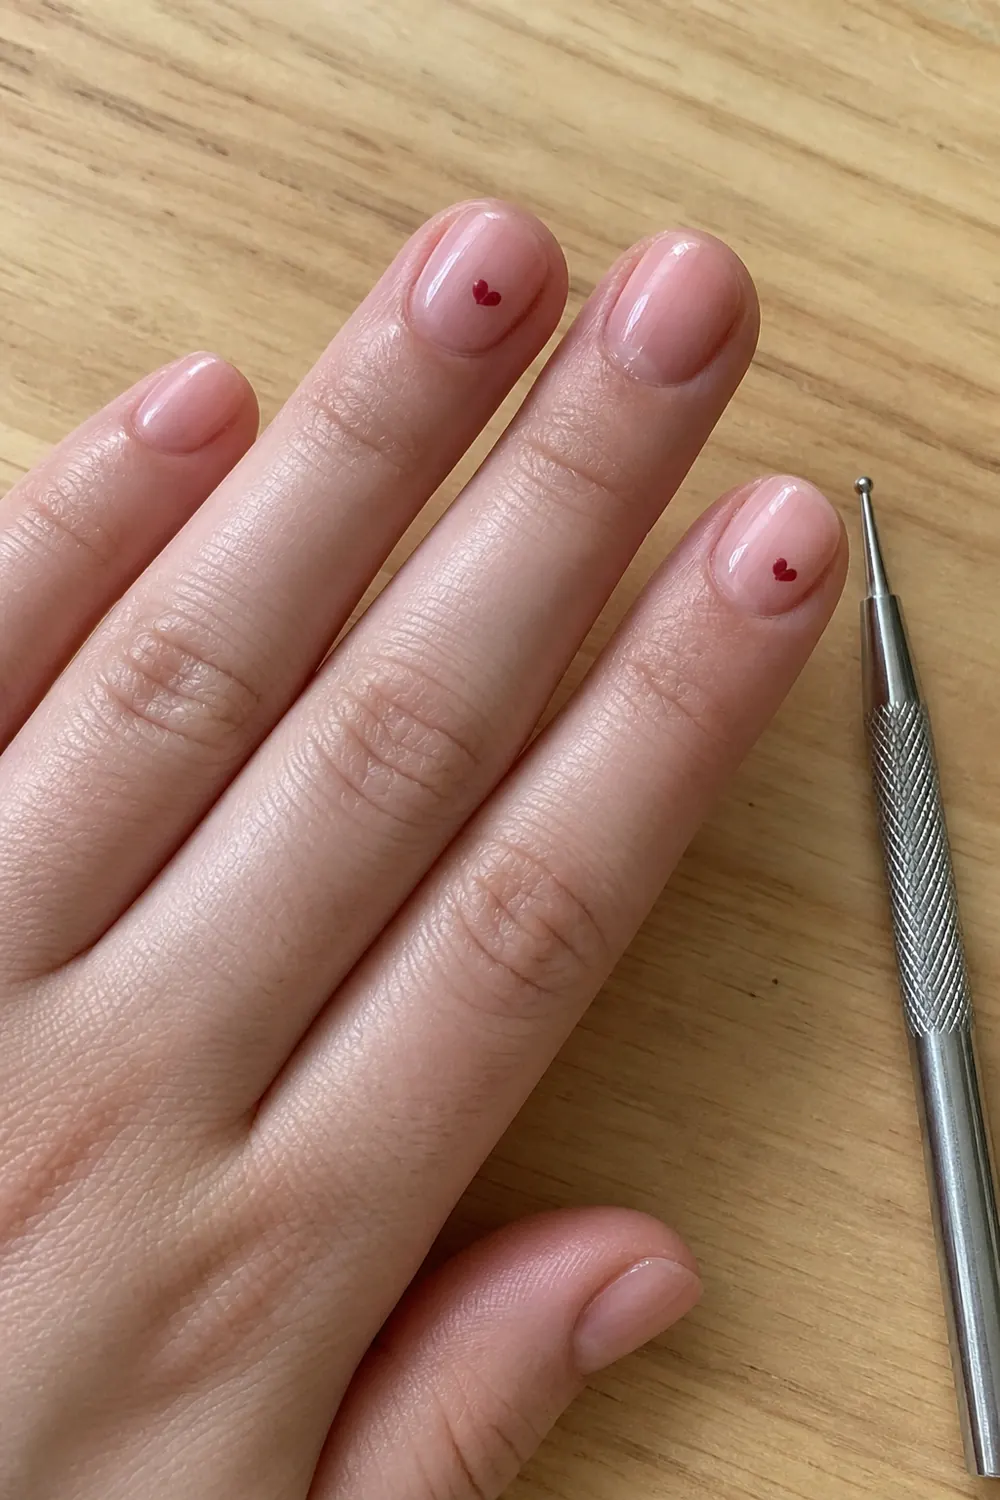
- Later
Once the basics feel easy, a few extras open up more designs. Striping tape gives you straight lines, nail stickers add detail without painting, and chrome powder rubbed onto a cured no-wipe top coat gives a mirror finish. Don't buy them all at once: simple looks like tiny dot hearts on sheer pink only need the dotting tool you already have.
Kits vs Buying Pieces Separately
Starter kits put a lamp, base and top coat, a few colors and basic tools in one box. That’s convenient when you’re starting from nothing, and it usually means the base, color and top coat are meant to work together. The downside is that kits often include colors you won’t wear and tools you don’t need yet, while leaving out things like a cleanup brush or removal supplies.
Buying pieces separately takes a bit more time but lets you choose exactly what you need: a lamp that fits your hand, a base and top coat you like and one or two colors you’ll actually wear. If you go this route, try to keep base, color and top from the same product line, and check that every gel says it cures with your lamp type.
Either way, use the “Starter kit at a glance” list above as a checklist. If a kit is missing something on it, add that piece separately.
DIY Gel Nails at Home with a UV Light: Tips
- Cure for the time the instructions say. Check both your lamp’s instructions and each gel’s label. Under-cured gel stays soft and peels; curing times aren’t the place to guess.
- LED, UV or both? Many home lamps are labeled LED/UV and work with most gels. In plain terms: just check that the product says it cures with your type of lamp.
- Cure thumbs separately. When your four fingers are in the lamp, your thumb sits at an angle. Cure it on its own, with the nail facing the light.
- Keep your hand flat and still. Rest your palm on the base of the lamp with fingers relaxed so every nail gets even light.
- Thin coats only. Thin layers cure fully; thick ones can wrinkle, stay soft underneath or feel hot in the lamp. If you feel a burning sensation, take your hand out for a few seconds, then finish.
- Cap the free edge with each coat to help the set resist chips at the tip.
For the full routine from prep to top coat, see easy DIY Christmas gel nails, which walks through the basic steps before the designs.
Safety Basics
- Follow your lamp’s and each product’s instructions for curing times and use.
- Keep gel off your skin and cuticles. Uncured gel on skin can lead to an allergy to acrylates, which can make it hard to use gel products later. Clean up spills before curing.
- Work in a ventilated room and close bottles when you’re not using them.
- Don’t peel gel off. Remove it following your product’s instructions, usually by filing the top coat and soaking, or by filing.
- If you notice itching, redness or swelling around your nails, stop using the products and see a doctor.
FAQ
What do I need for gel nails at home?
At minimum: an LED/UV lamp, a gel base coat and top coat, one or two gel colors, a file, buffer and cuticle pusher, lint-free wipes with alcohol, a cleanup brush and removal supplies. Cuticle oil is a nice extra.
Is a gel nails at home kit worth it for beginners?
A kit can be a convenient way to start if it includes a lamp and a matching base, color and top coat. Check what’s missing, usually a cleanup brush and removal supplies, and add those separately.
Can I use any lamp for gel nails at home?
Not every gel cures under every lamp. Check that each gel says it cures with your lamp type, and use the curing times from the instructions.
Do I need builder gel to start?
No. Gel polish with a base and top coat is the place to start. Builder gel is optional and can be added later if your short nails are thin or bendy.